

Welcome to a look inside The Holocron – draw STar waRS. A collection of articles from the archives of *starwars.com no longer directly available.
(*Archived here with Permission utilising The Internet Archive Wayback Machine)
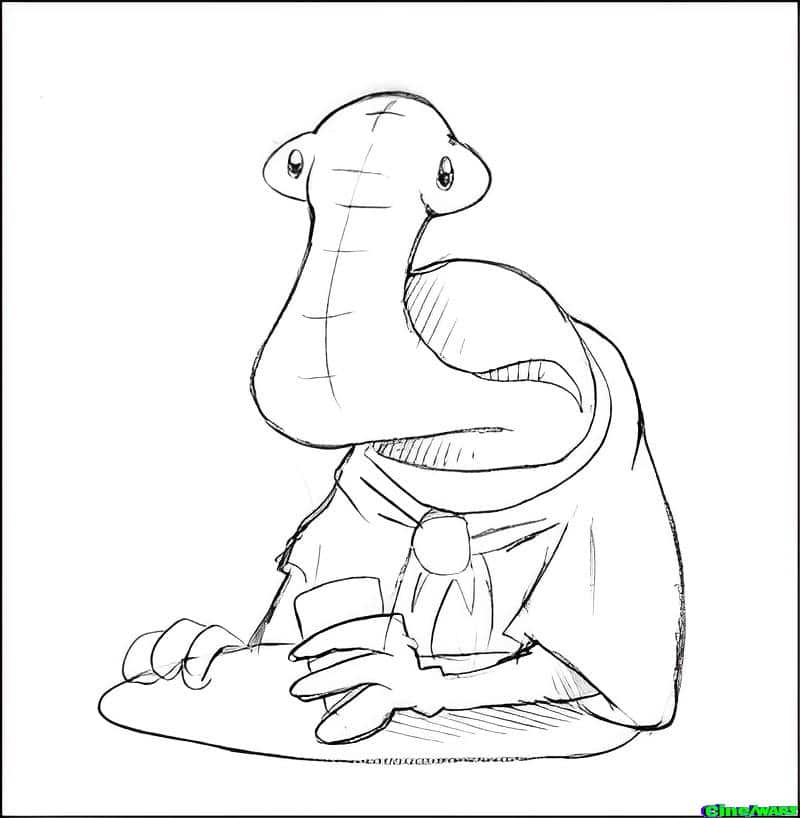
Drawing a Tauntaun

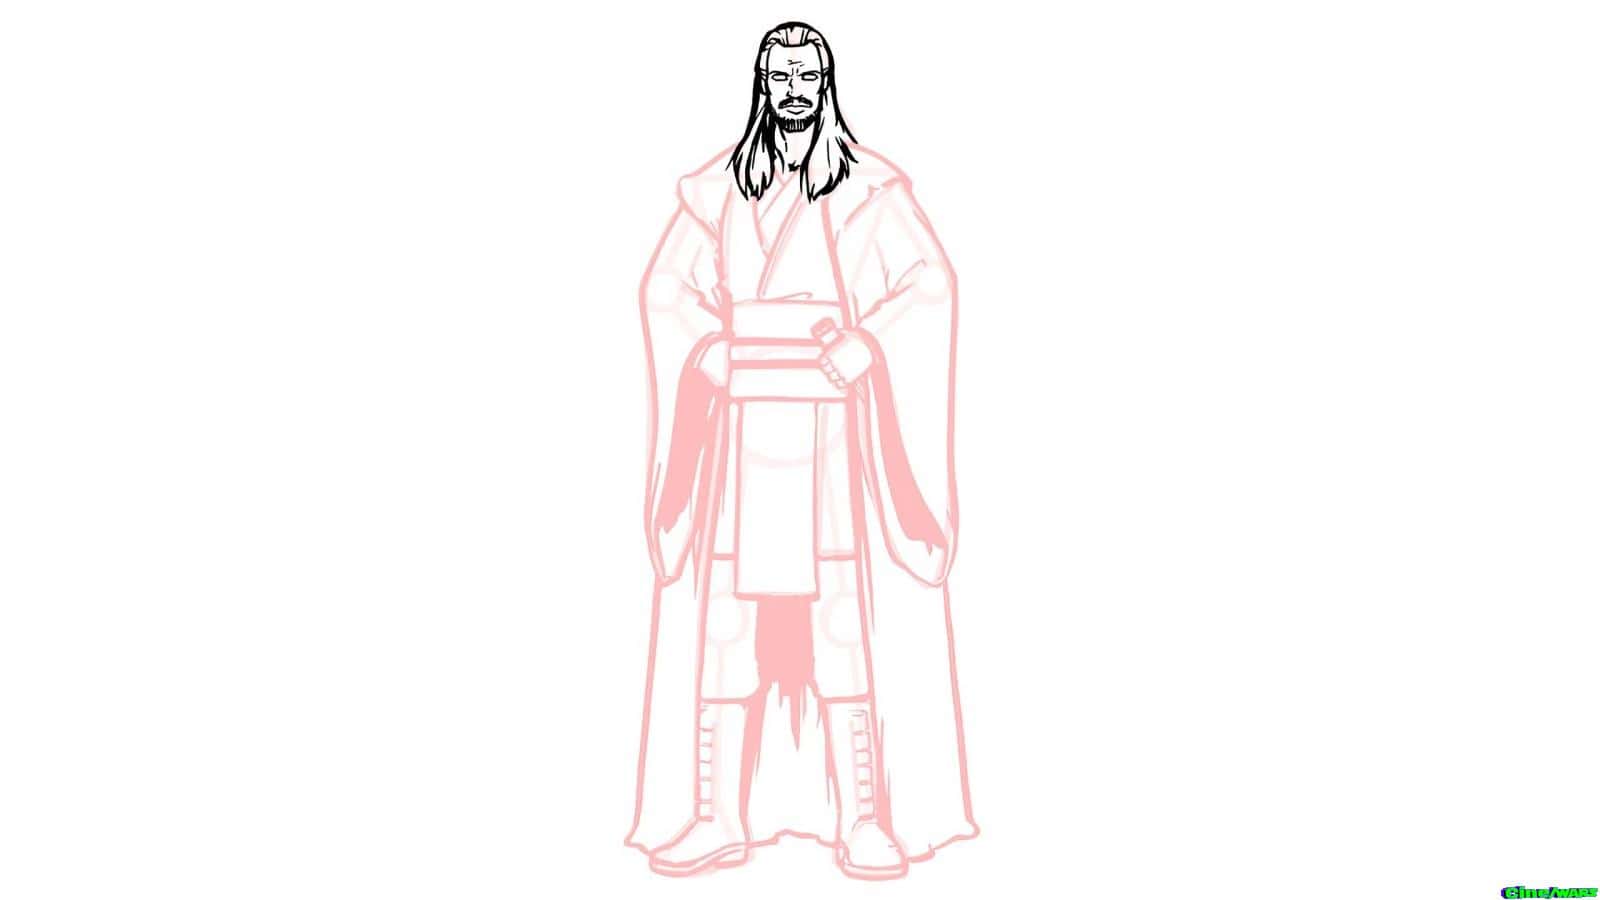
Ever wanted to draw Star Wars characters and vehicles just like the professional comic book artists? In this step-by-step series, Star Wars artists and illustrators show you how to draw some of the most beloved characters in the saga.
Creator of the comic Mouse Guard, artist David Petersen explains with these easy-to-follow steps how to draw a tauntaun.
For his drawing, David Petersen used:
- a 0.5 mechanical pencil with HB lead
- a variety of erasers (white, kneaded, and click)
- a SAKURA Pigma Sensei ink pen
- Strathmore Bristol
“However, as an artist, you should always find the materials you enjoy and feel most comfortable with,” Petersen says. “You can do just as nice of a drawing with a traditional wooden pencil or a ballpoint pen as you can with expensive art supplies.”
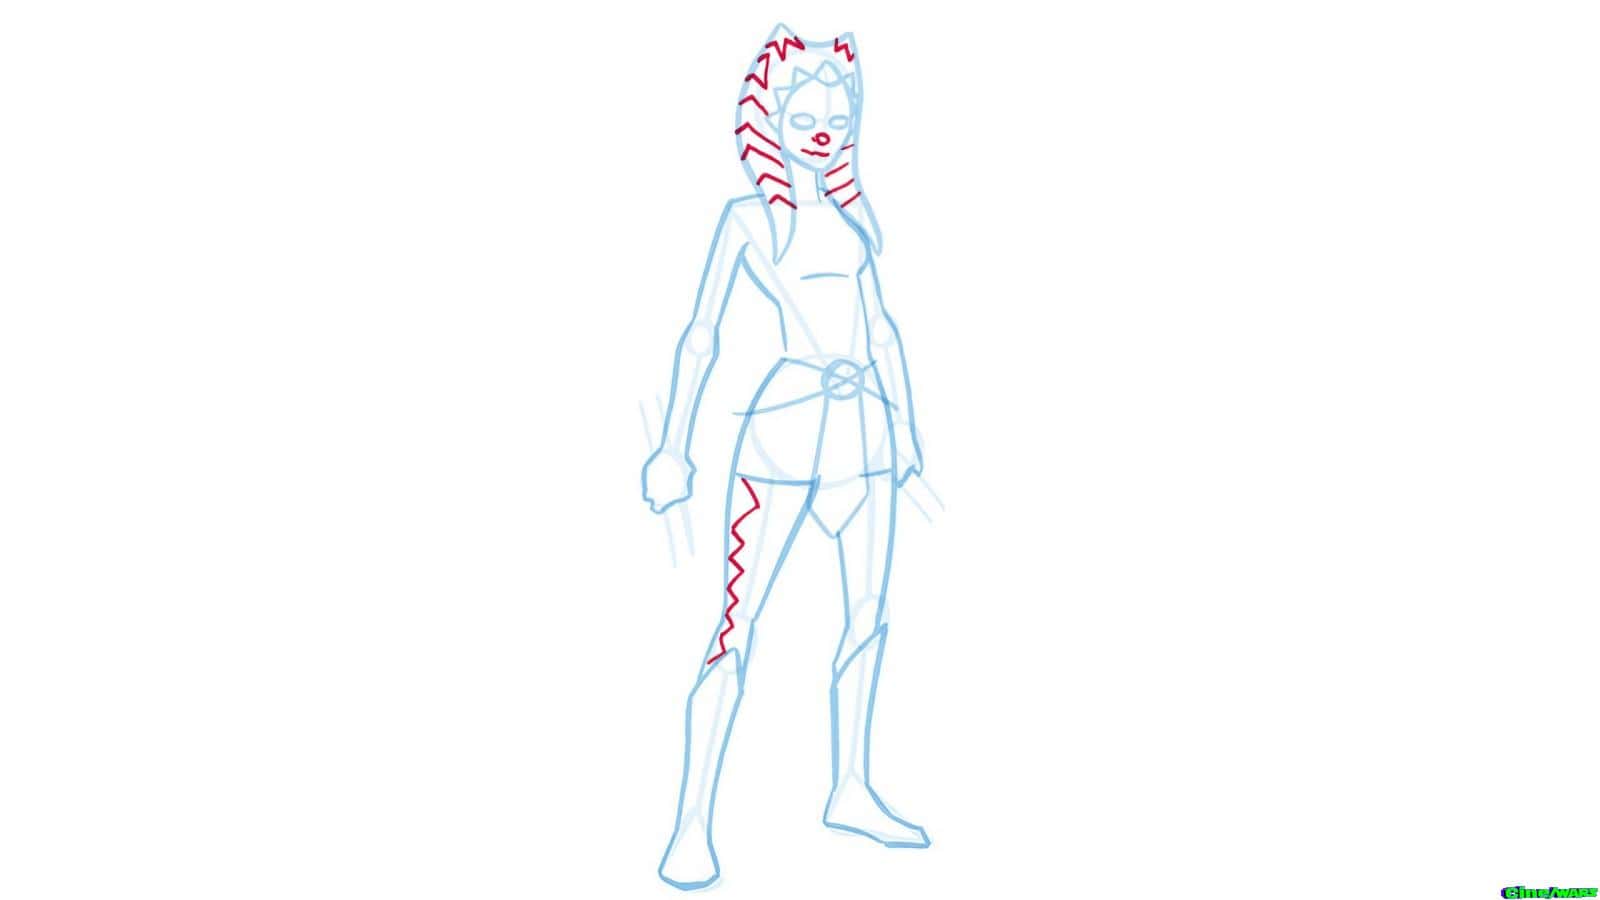
Steps 1-4 are drawn lightly with pencil. No pen, no dark lines. Finished lines and details will come at the end.
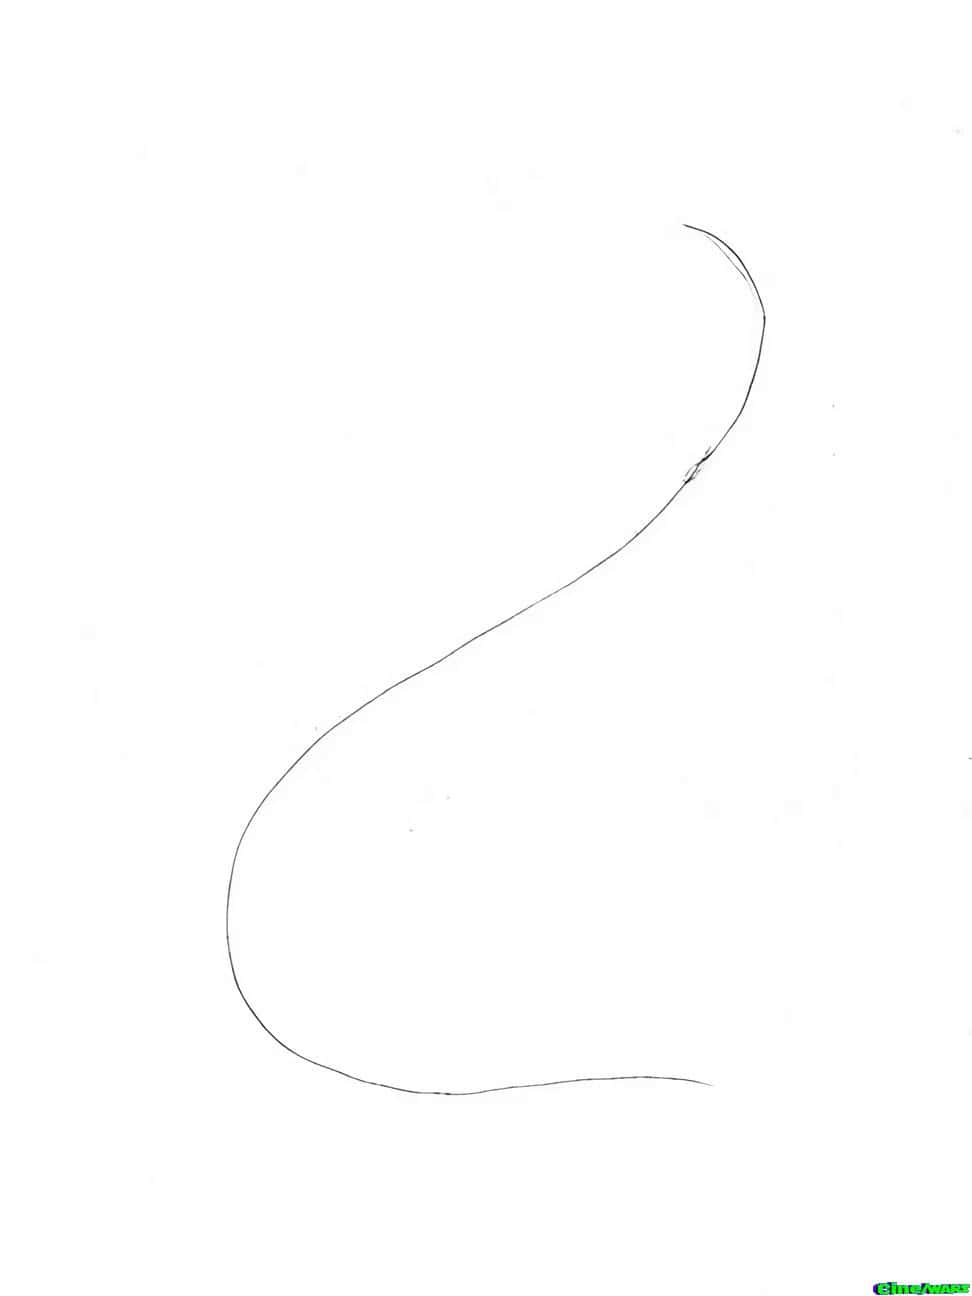
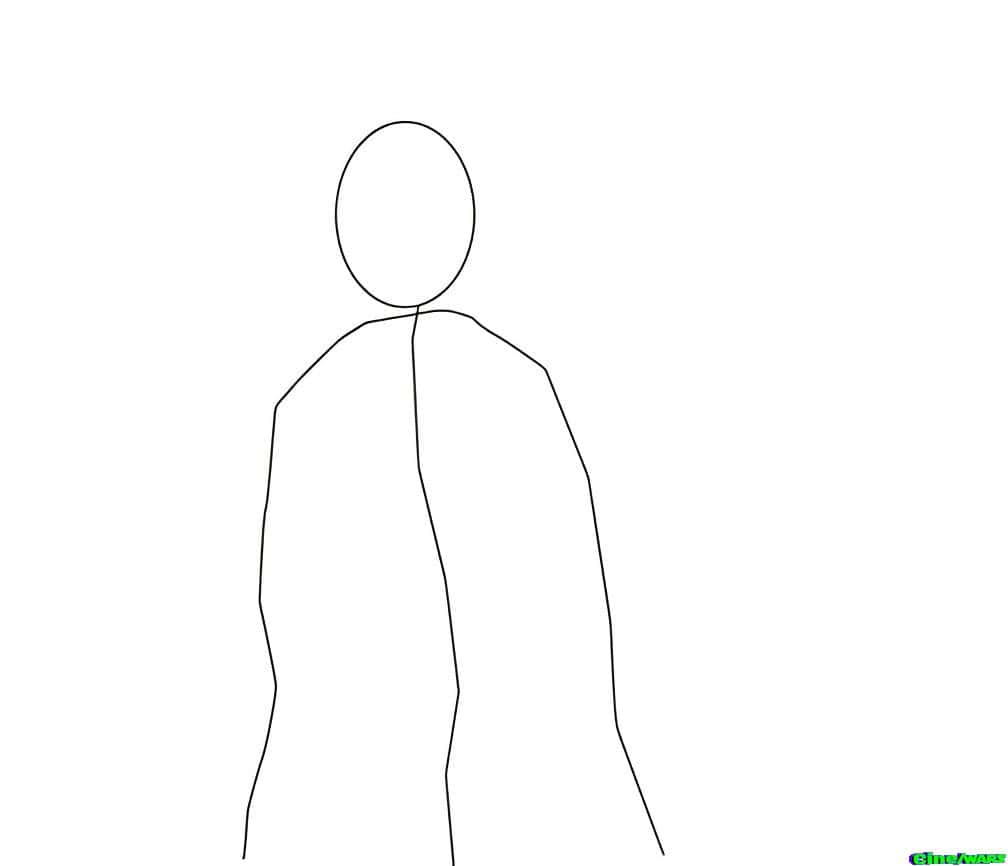
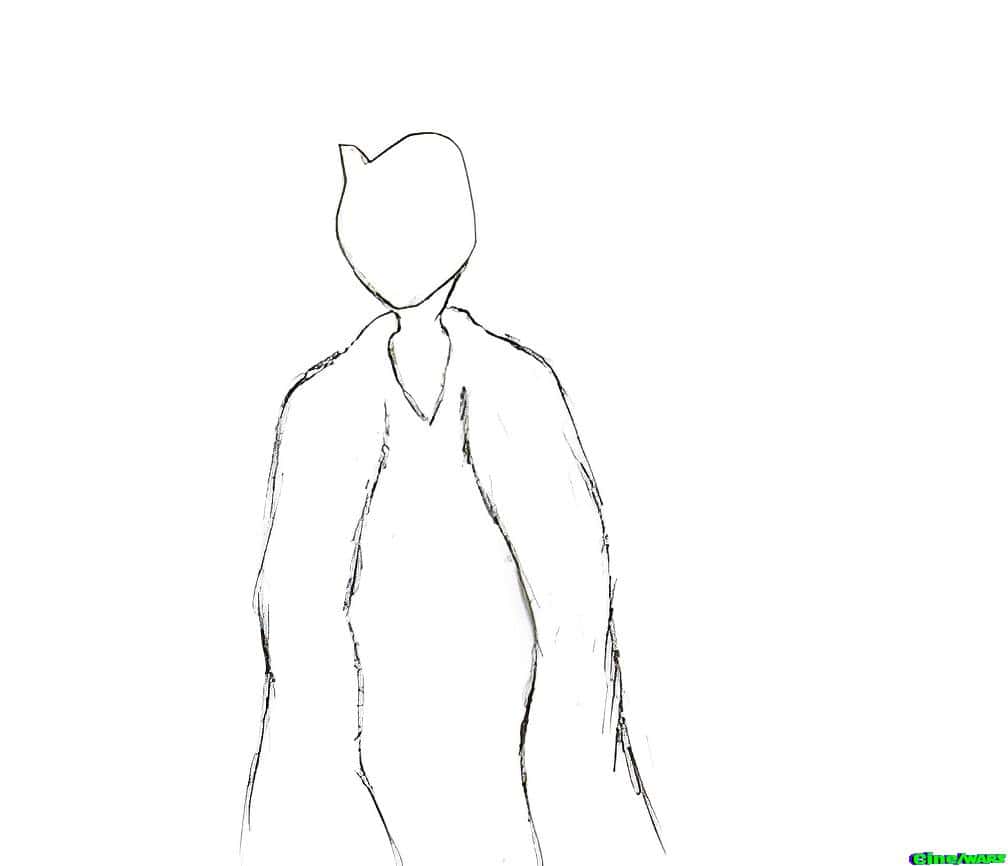
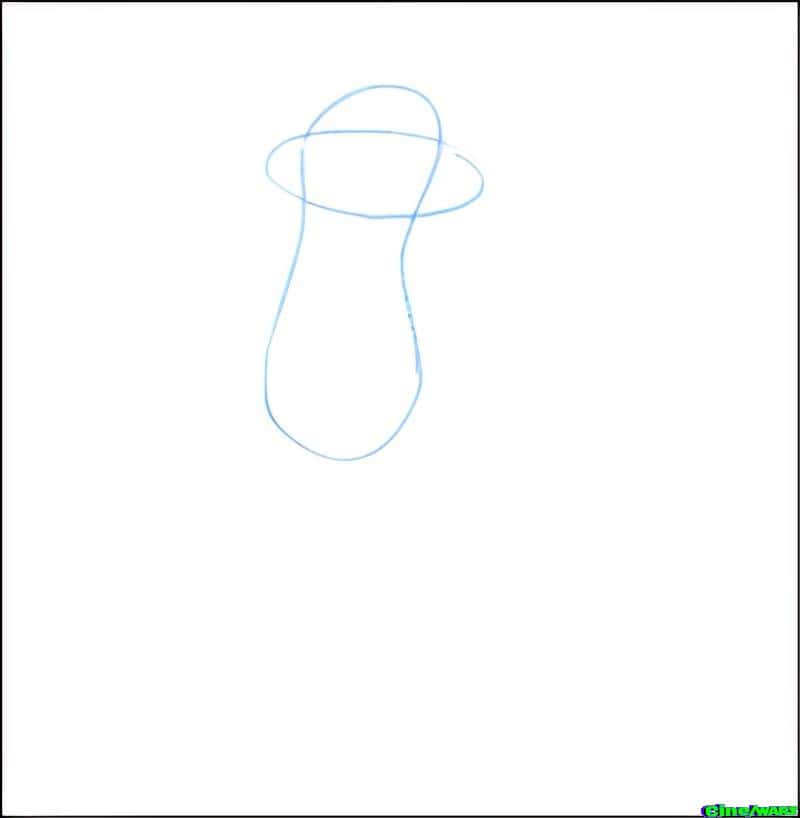
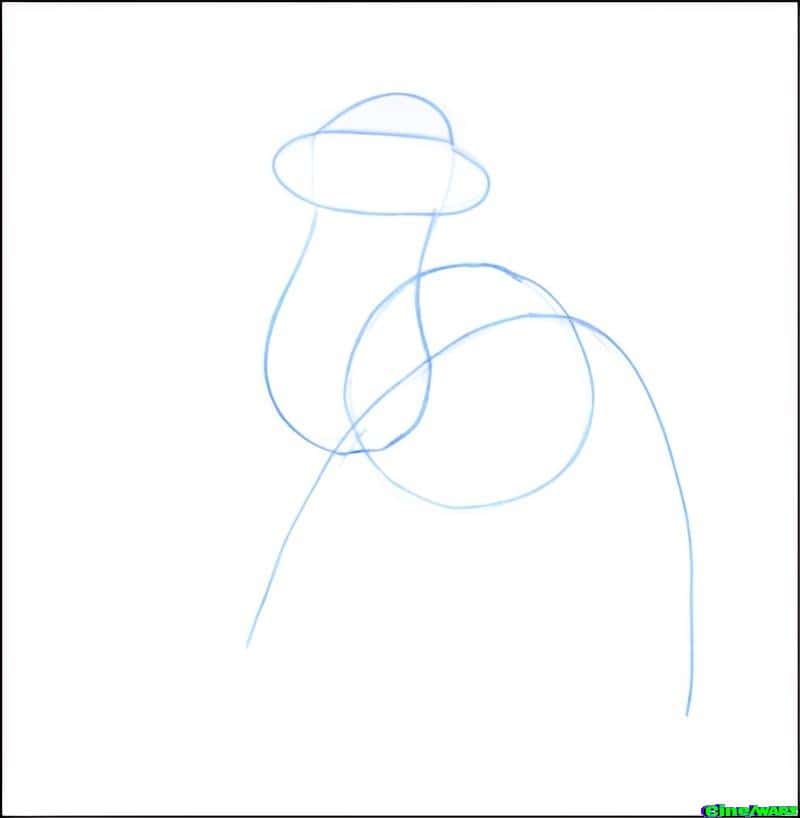
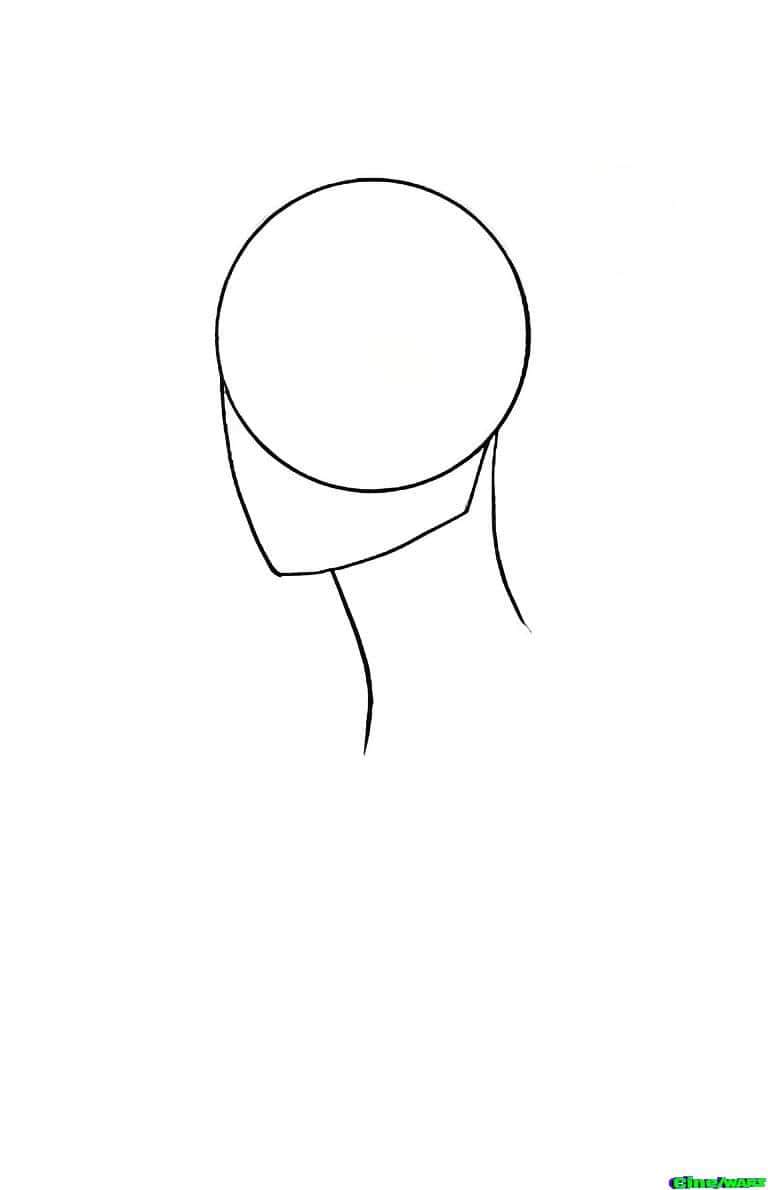
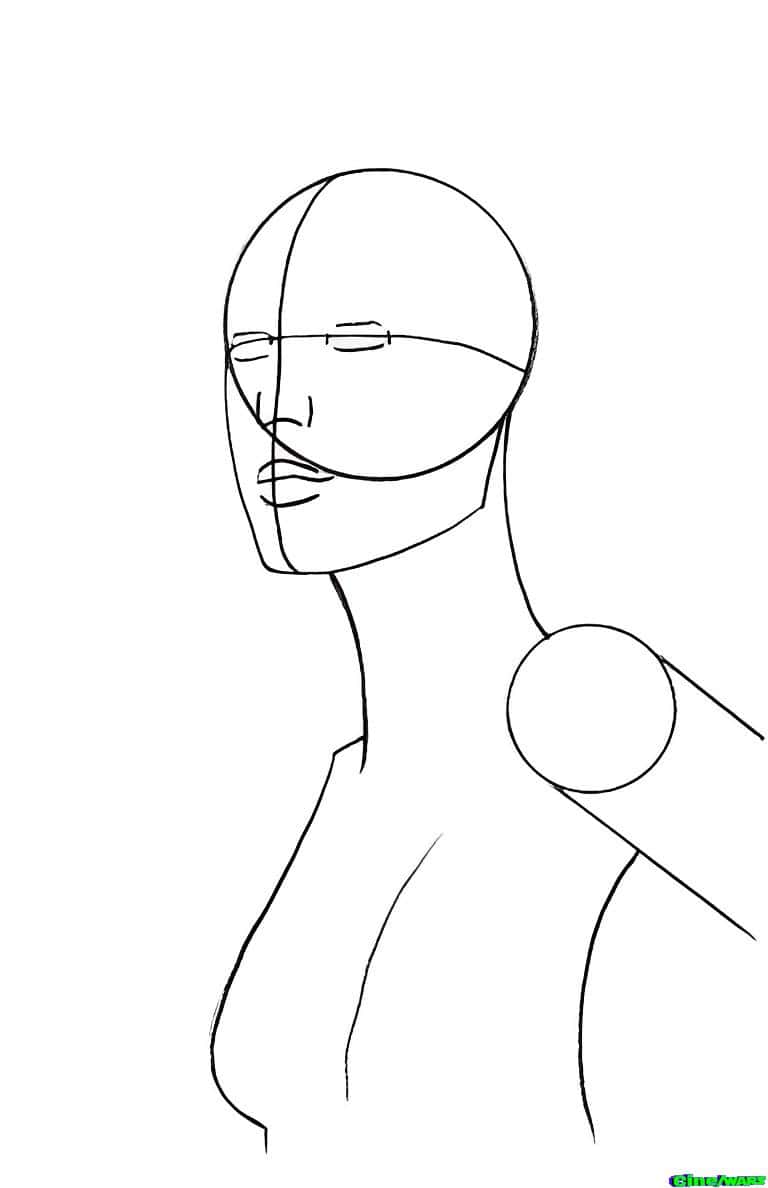
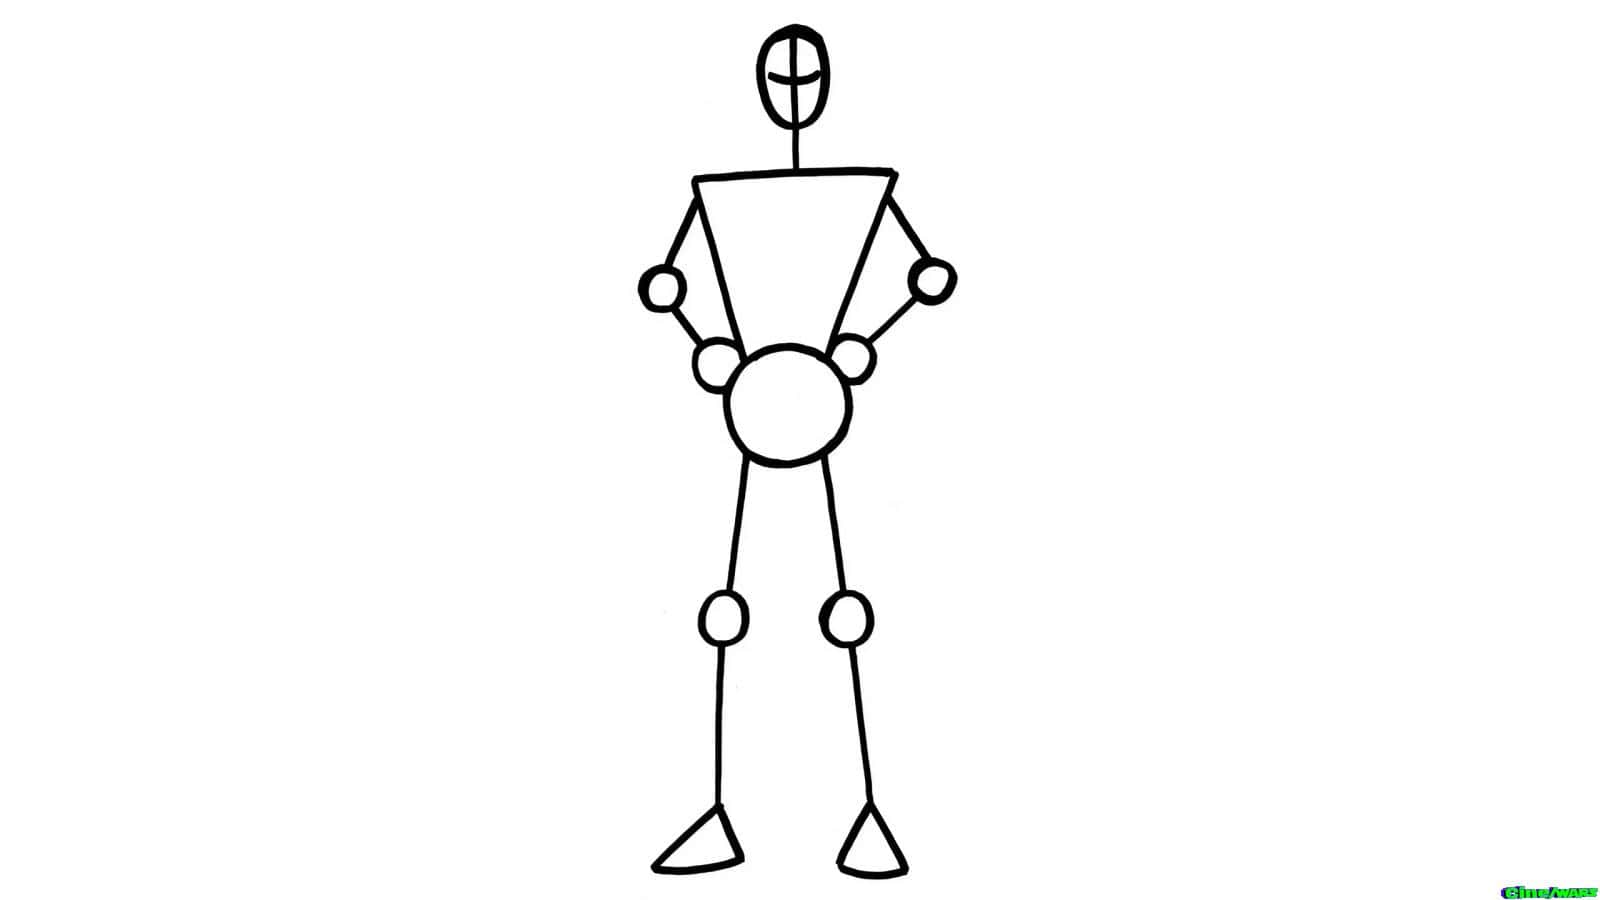
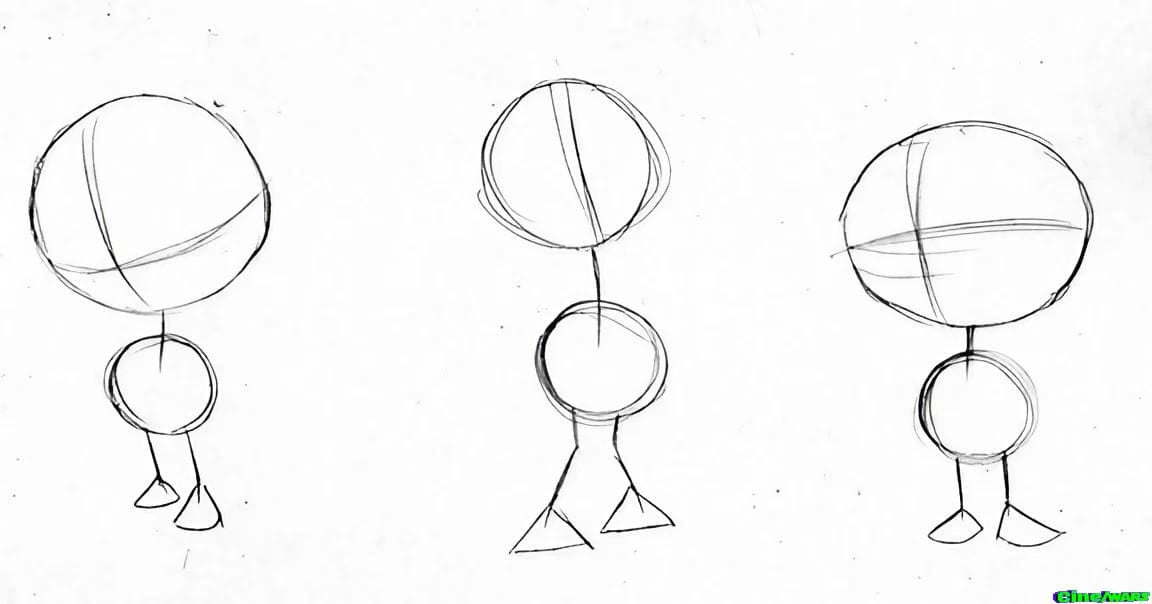
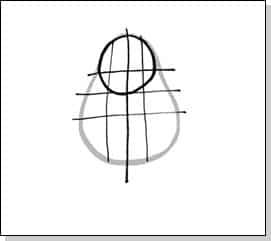
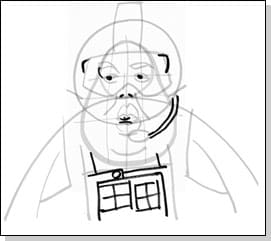
Step One:
Start with the tauntaun’s spine line. I started with this rough “S” shape so that I know my drawing is going to fit on my paper.
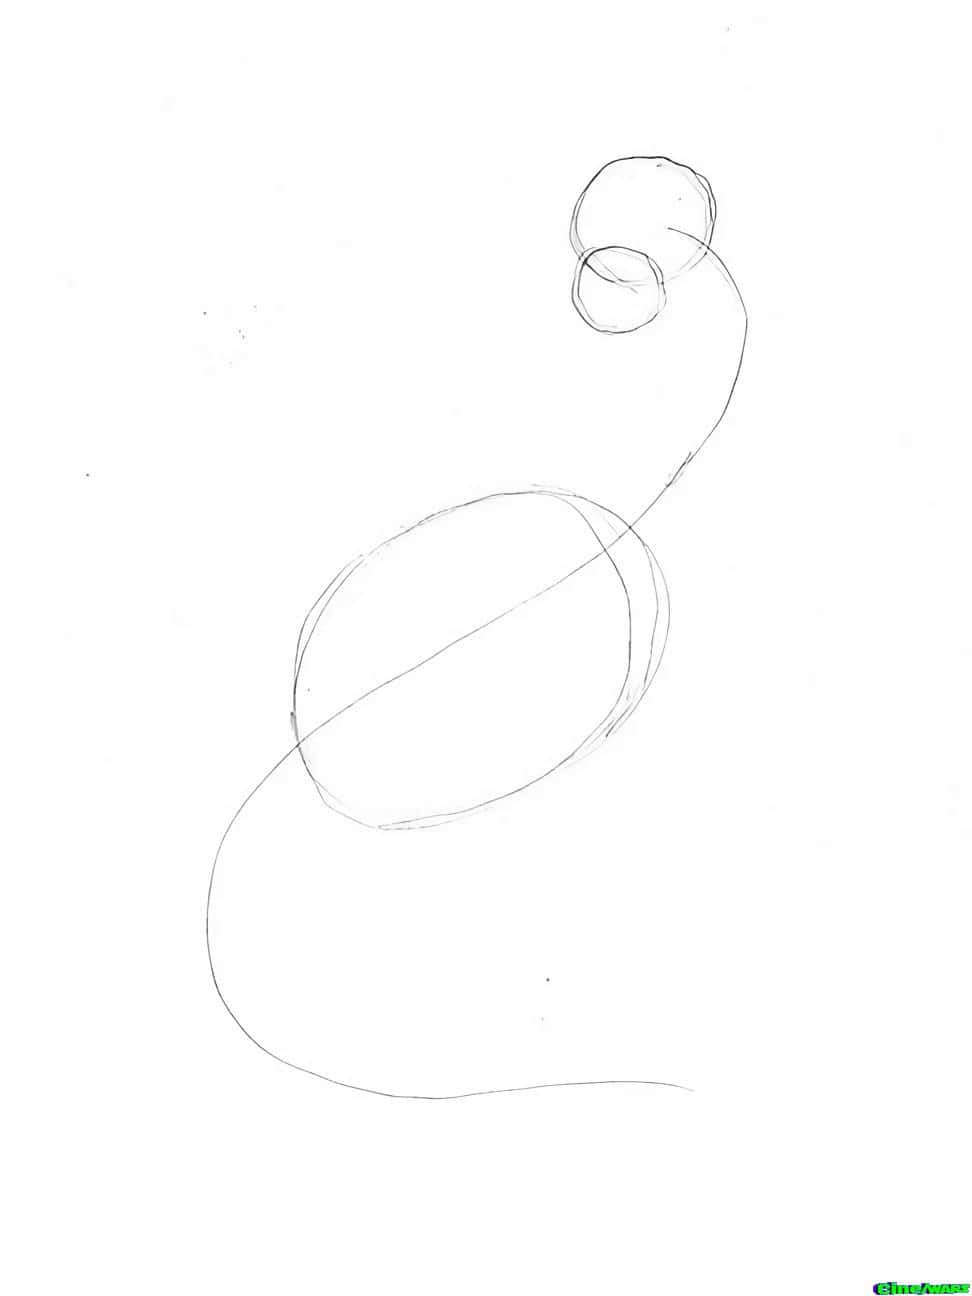
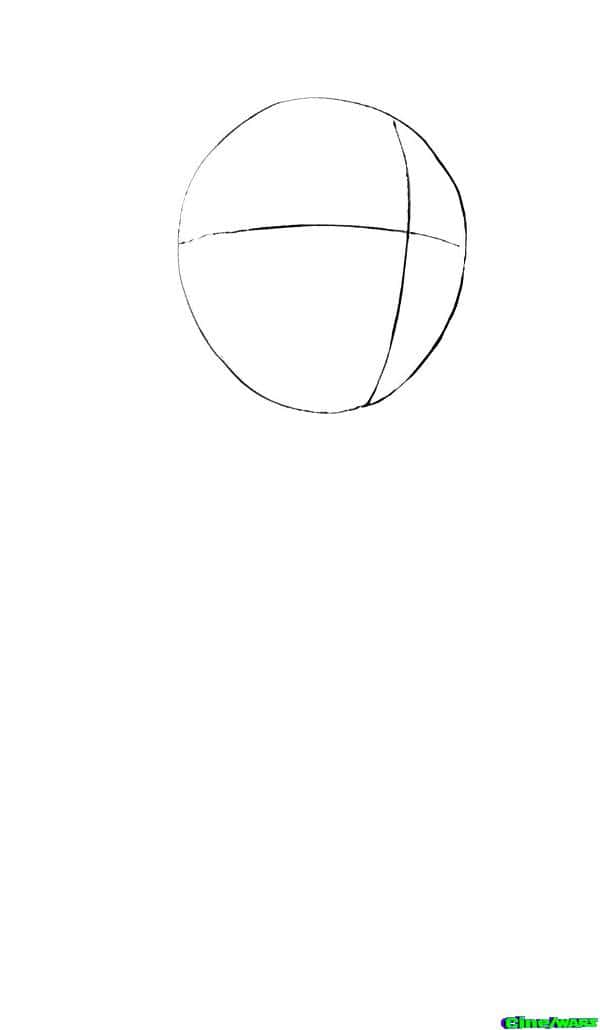
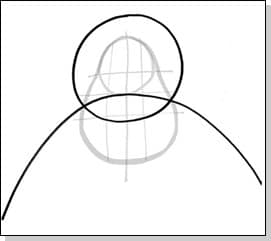
Step Two:
By using rough and simple shapes like these ovals and circles, I can start filling out the body, head and snout of the tauntaun.
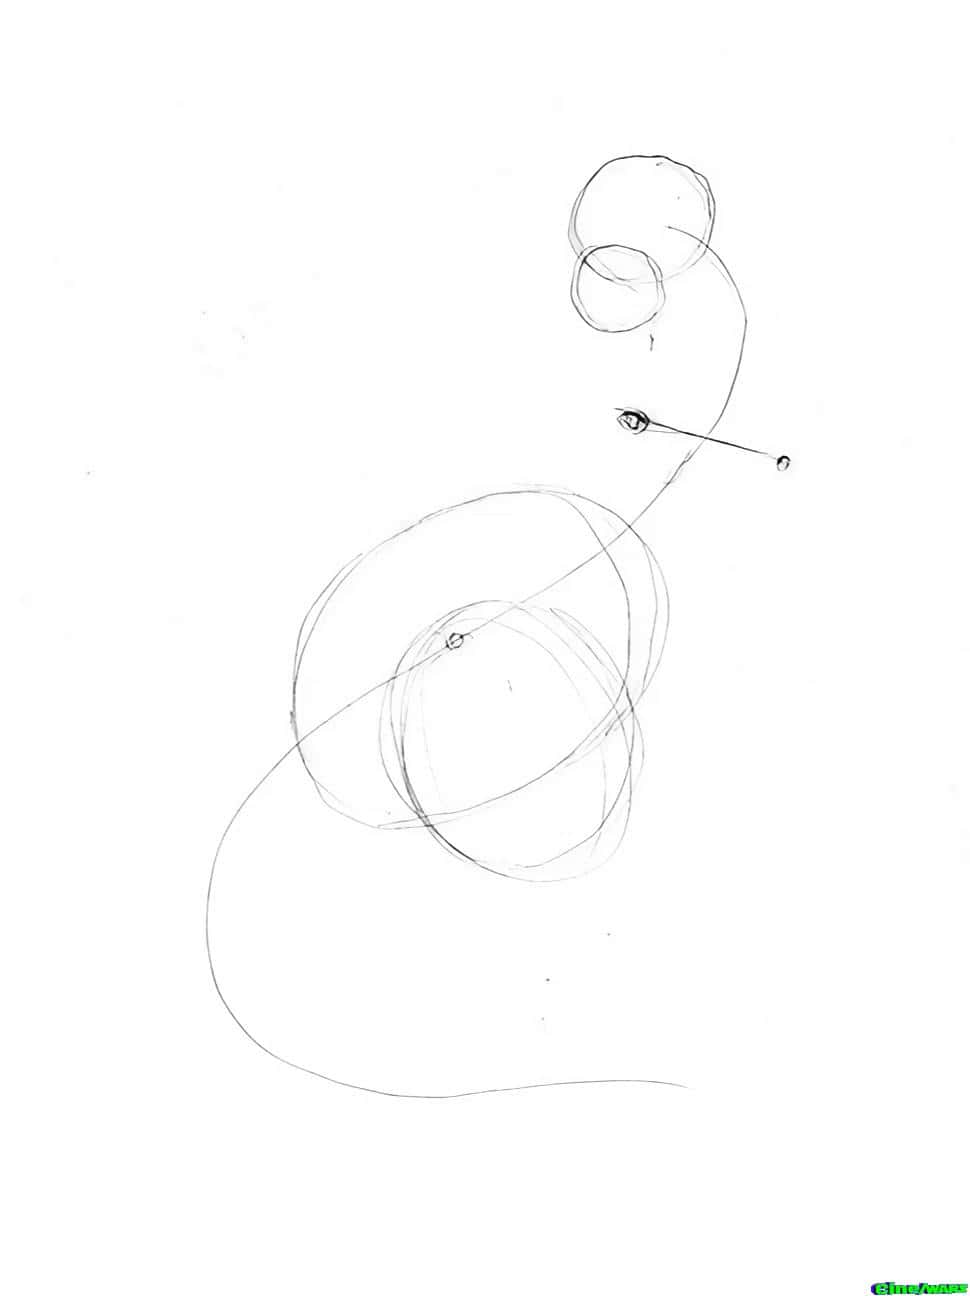
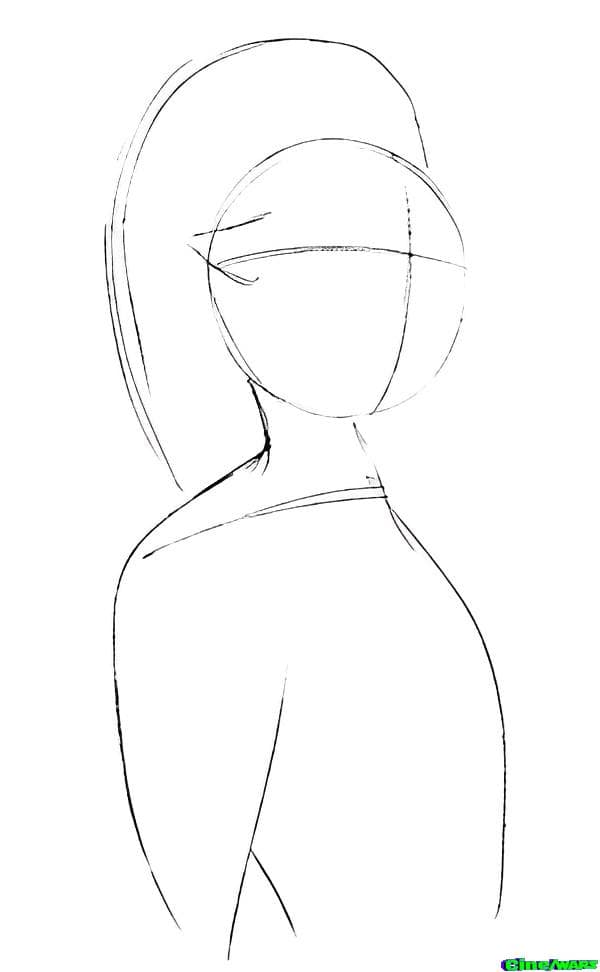
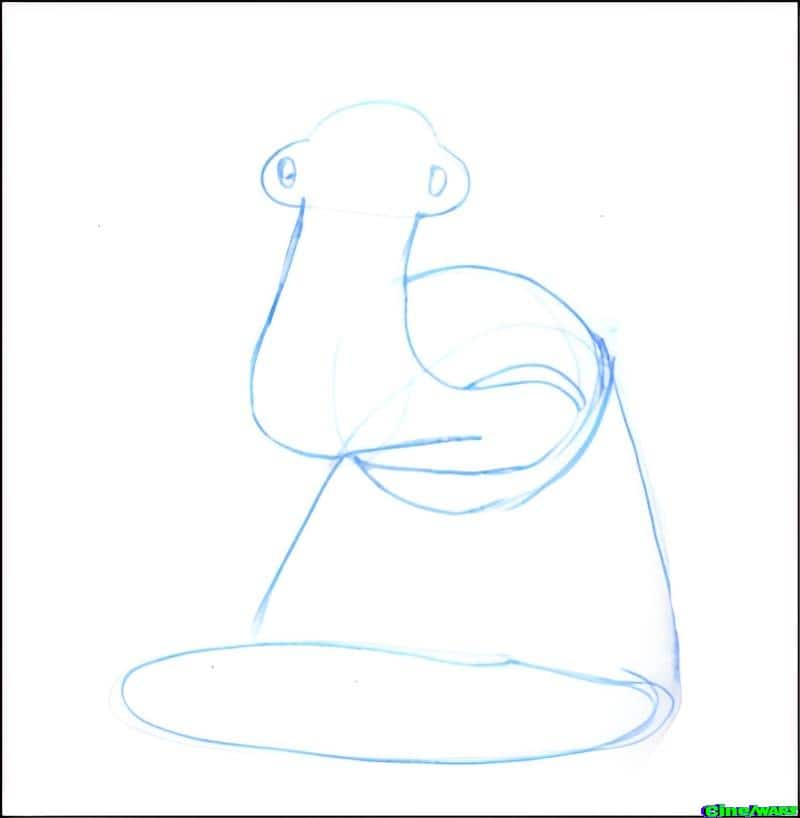
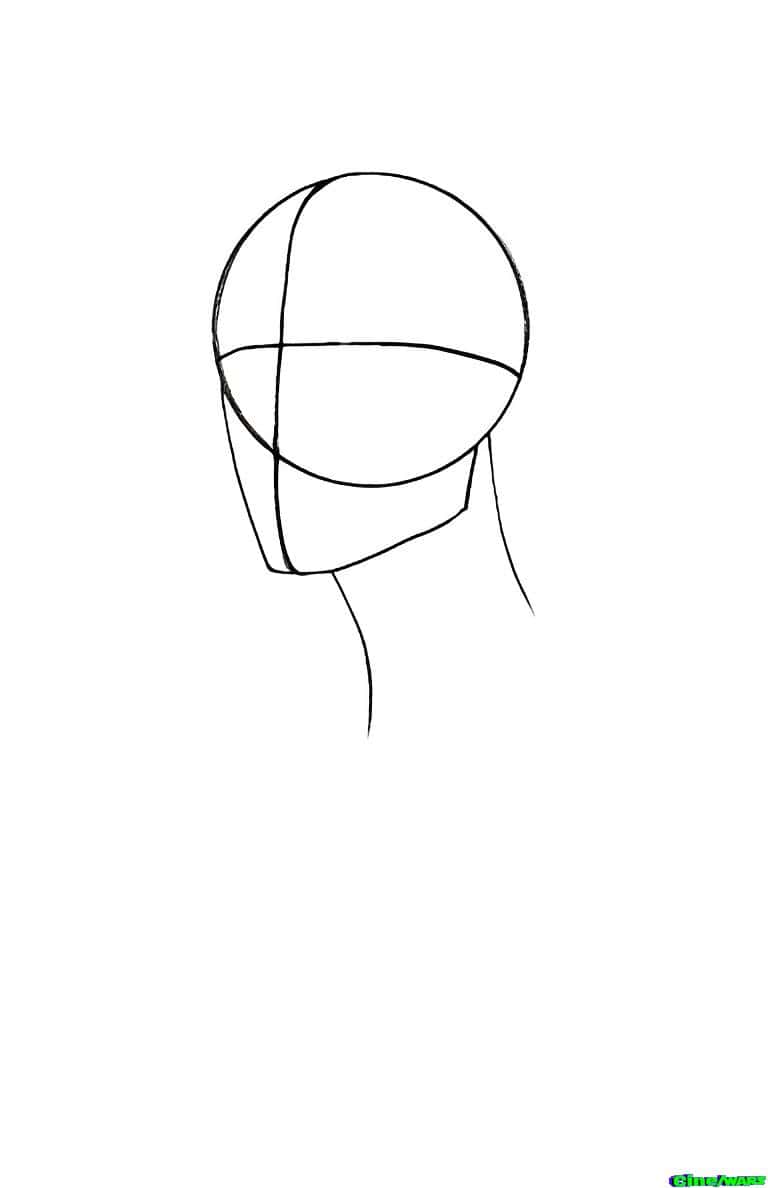
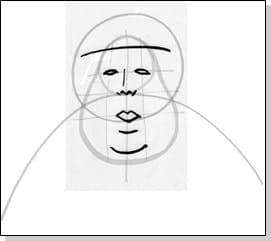
Step Three:
Make a line across where the shoulders will be and add little circles for where the shoulder joint will go. Another oval shape gets added for the start tauntaun’s big leg.
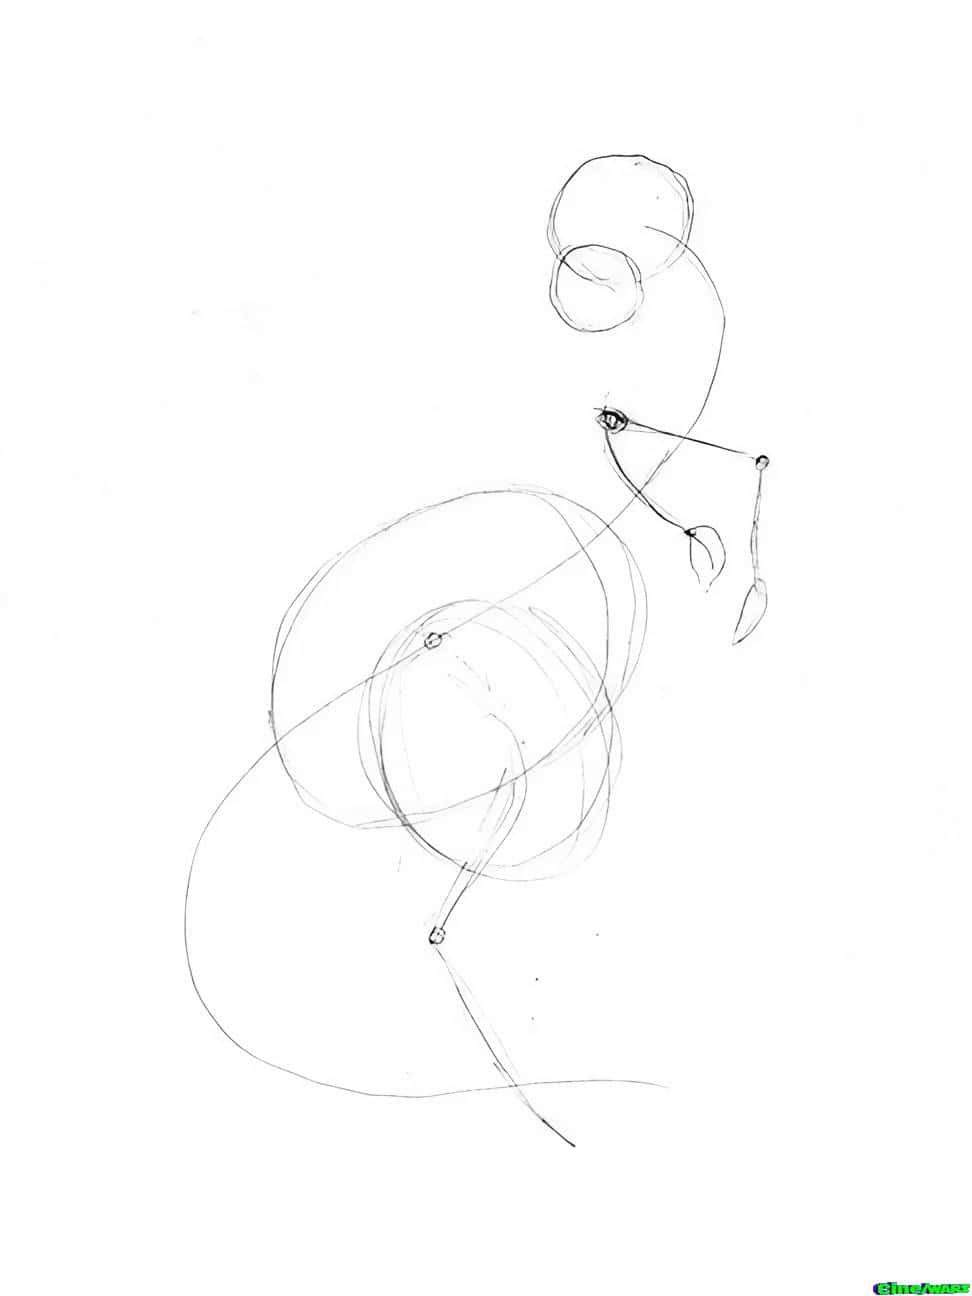
Step Four:
Tauntauns have little T-Rex like arms, so starting at the shoulder joint, add lines to show where the arms and hands go. Add the bottom of the leg facing you. Don’t worry about the back leg yet, we will get to that later. Tauntaun legs have a knee joint that bends backward from what we humans have.
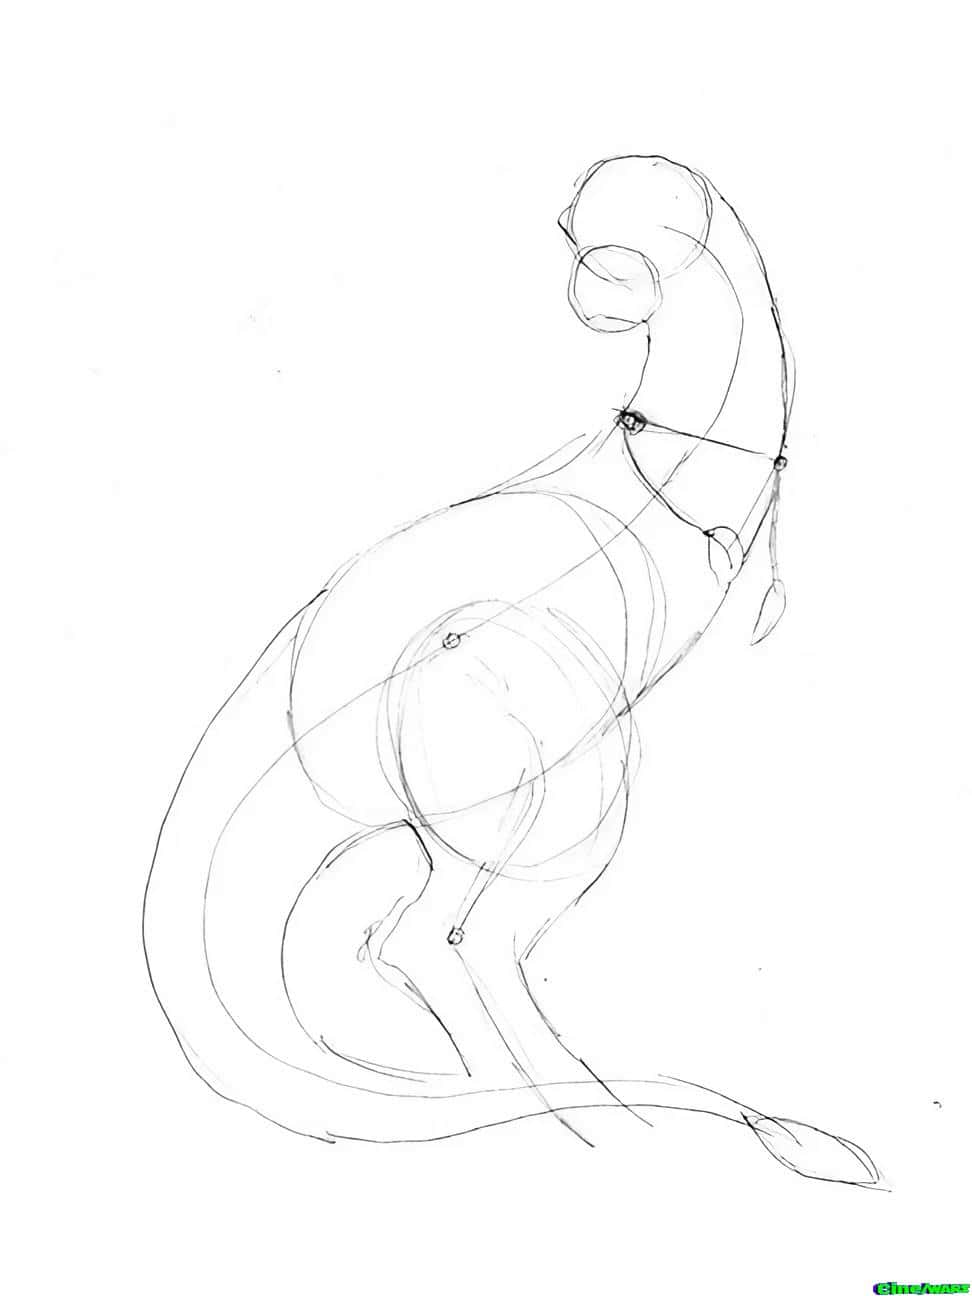
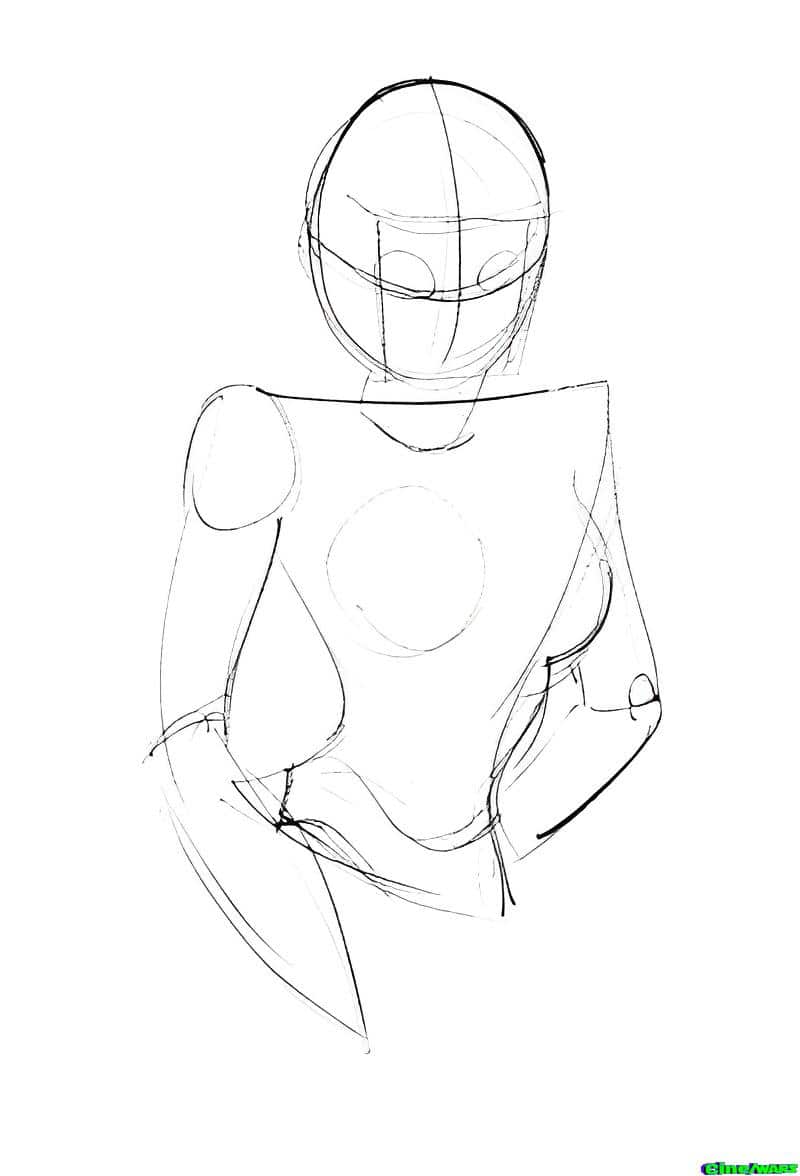
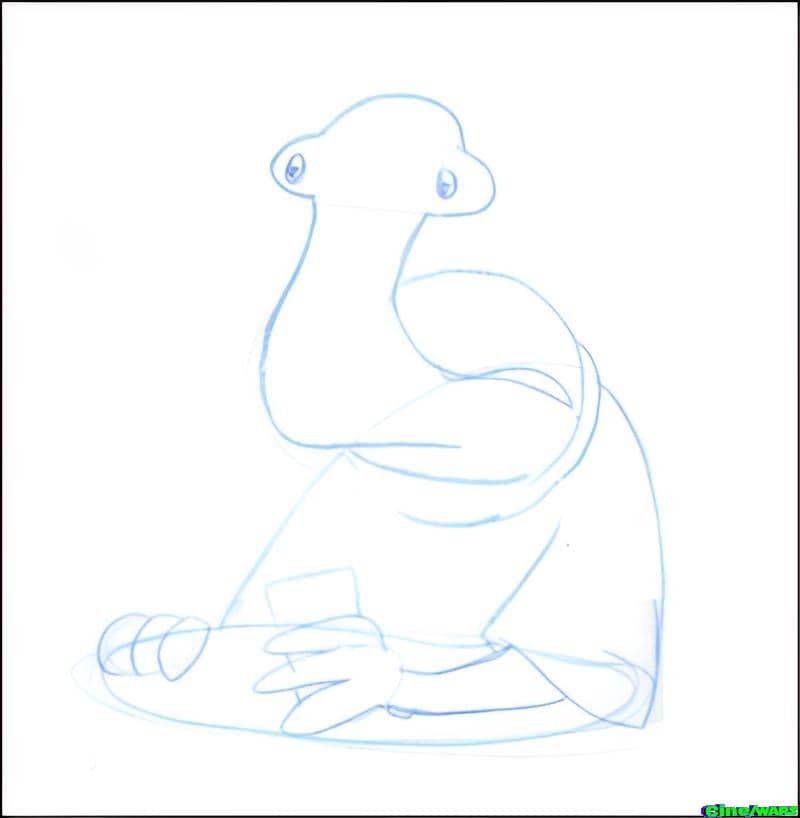
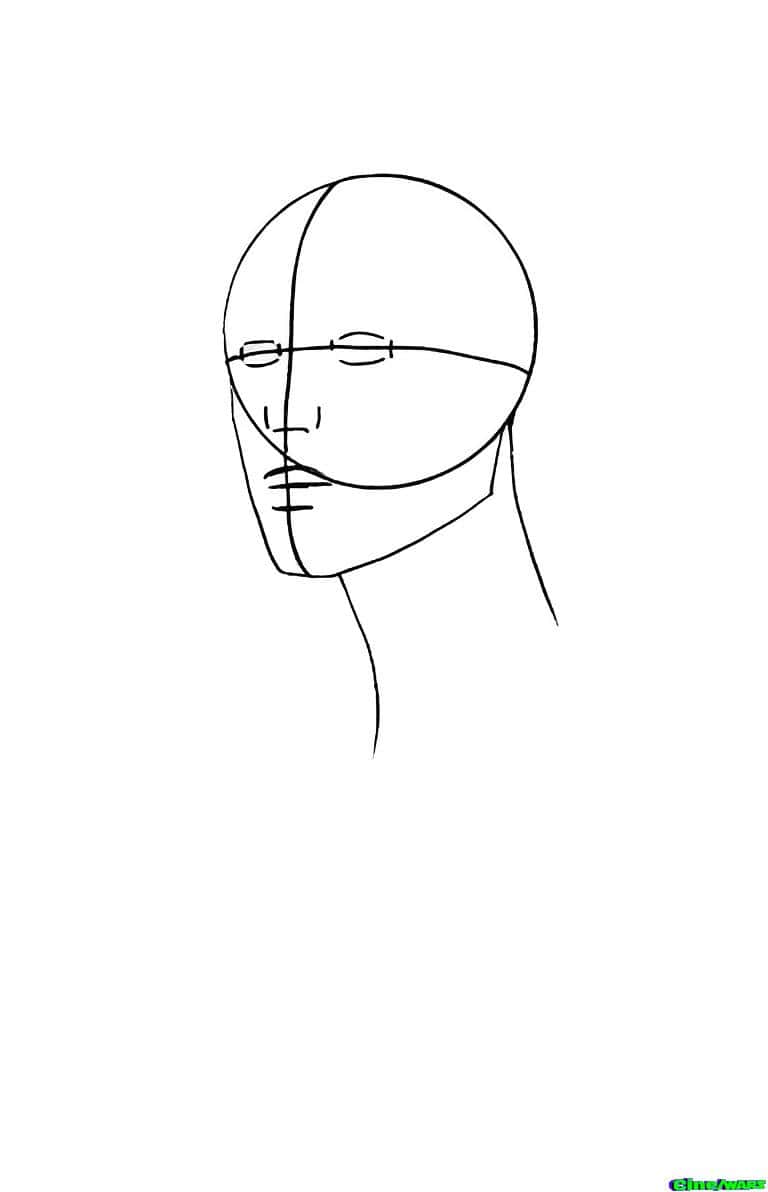
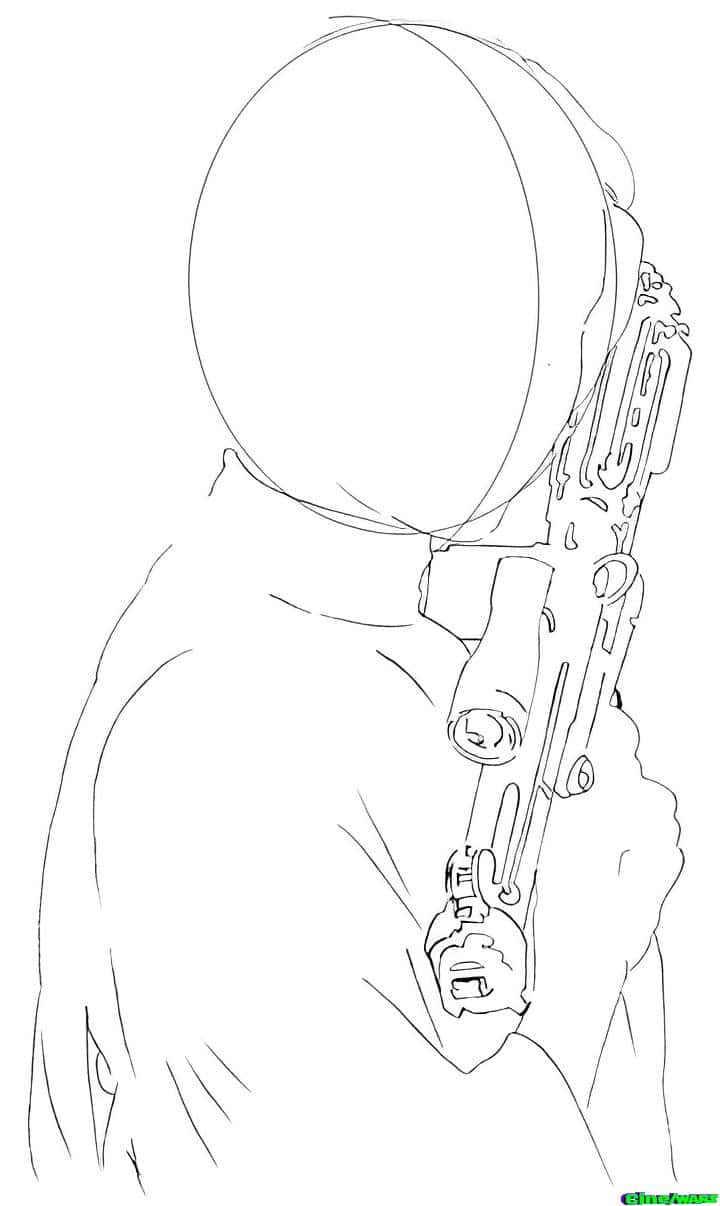
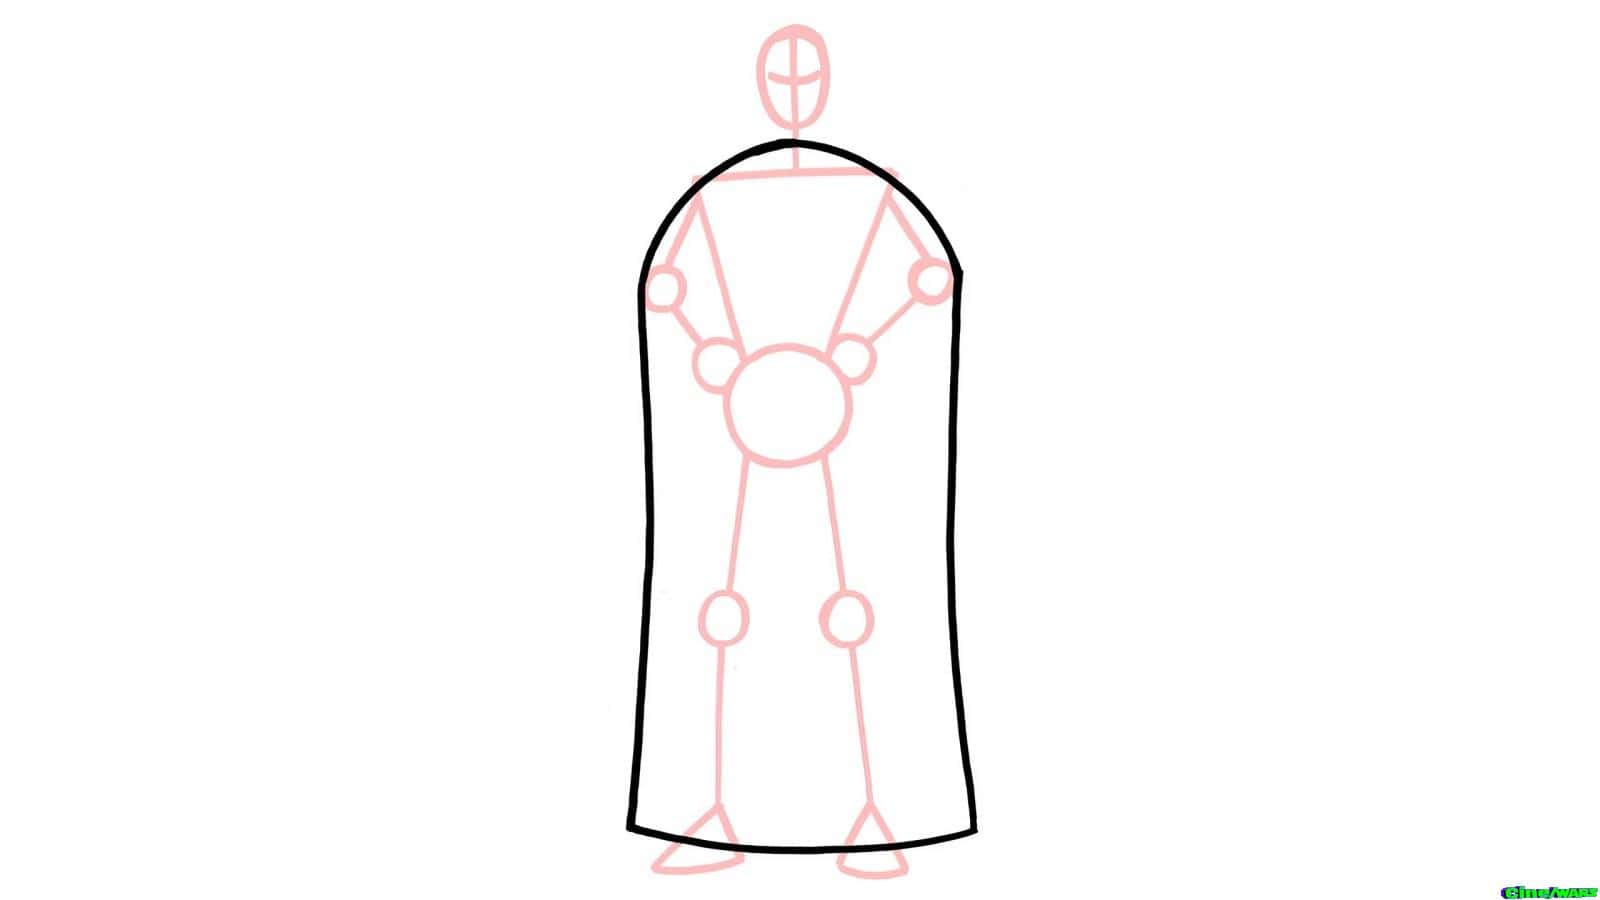
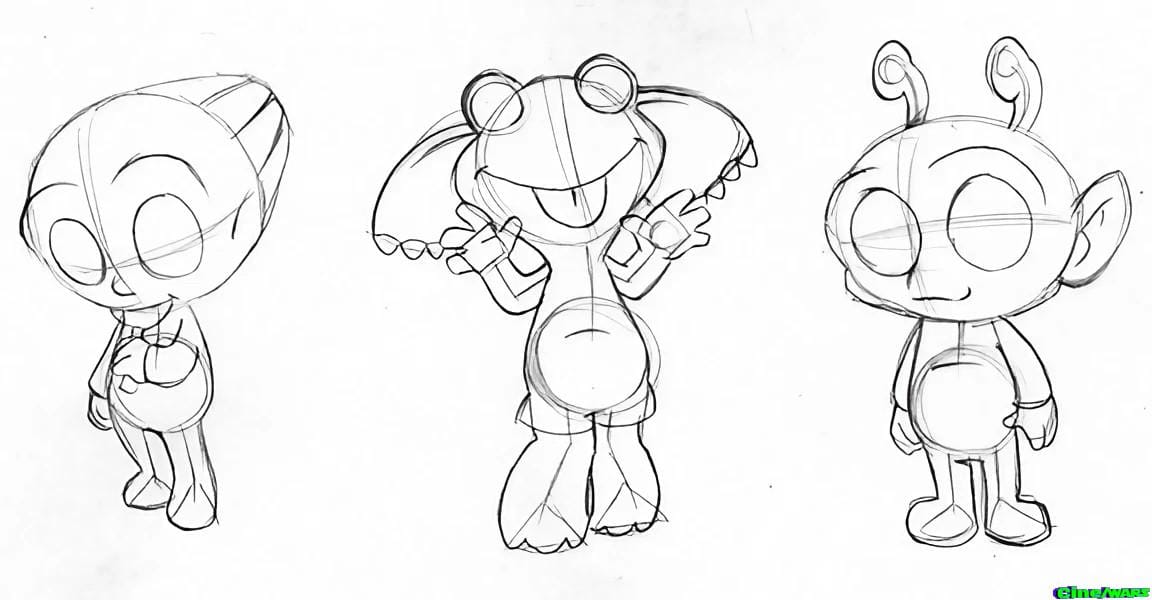
Step Five:
Now it’s time to start filling out the body shape. Add the lines for the tauntaun’s outer neck, belly, leg and tail. Don’t forget the little spade shape on the end of the tail.
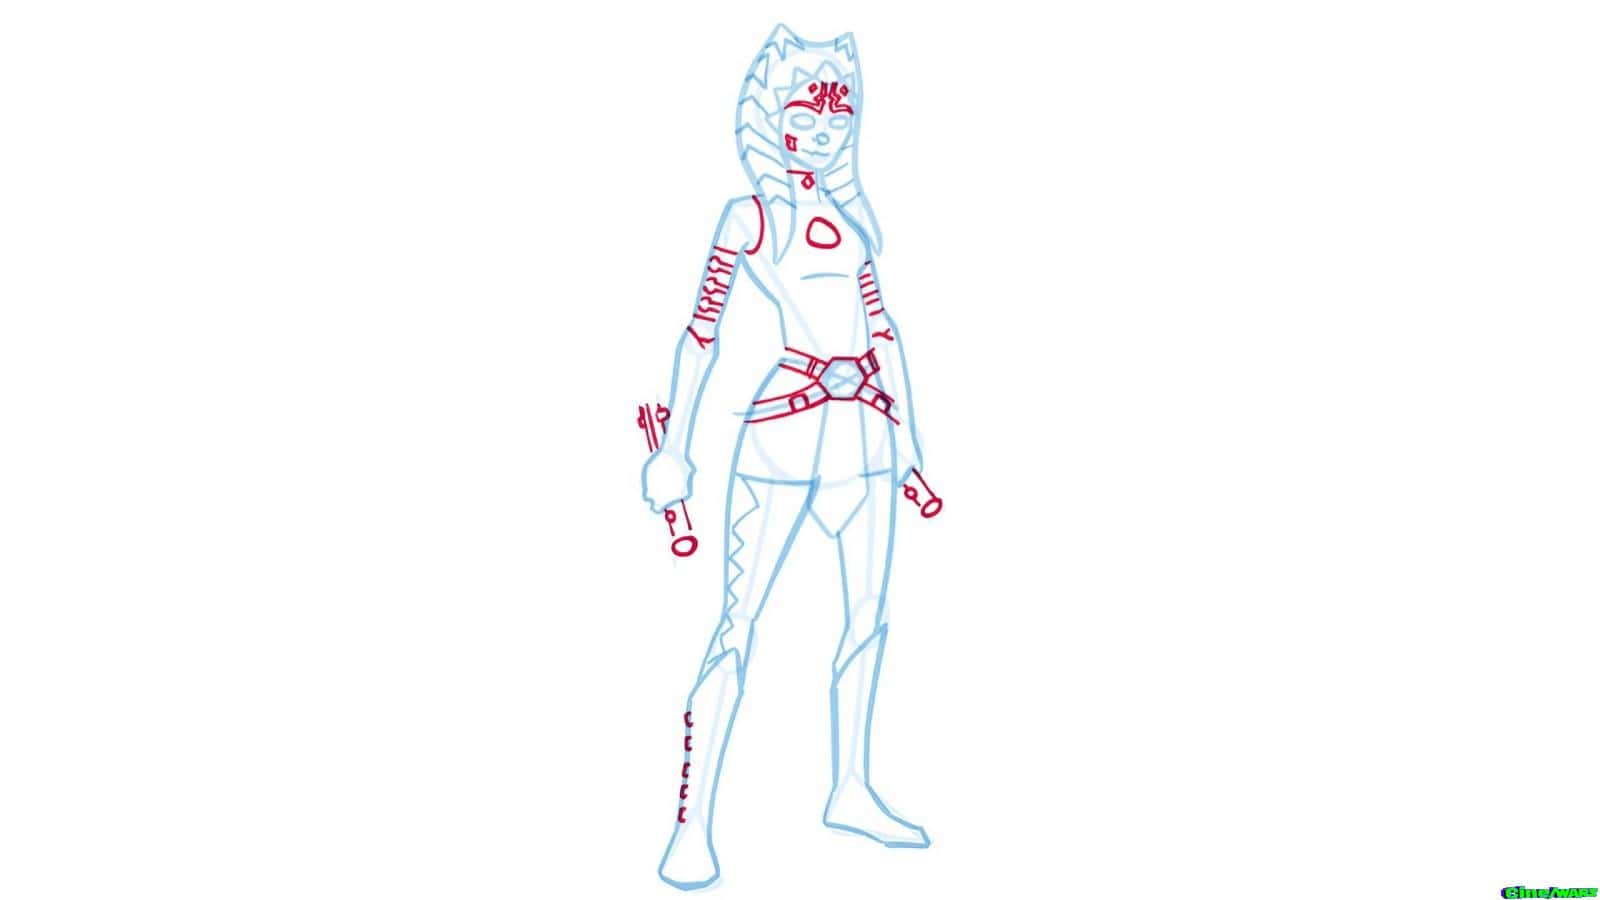
Step Six:
The same way we filled out the body in Step 5, we do the same for the arms in Step 6. Three little ball shapes at the bottom of the foot will form the toes. On the head, add two little ovals for the ears, draw in the line for the mouth, and add the horns. The horns are a little tricky, but they are basically shaped like a crescent moon that lost its tip.
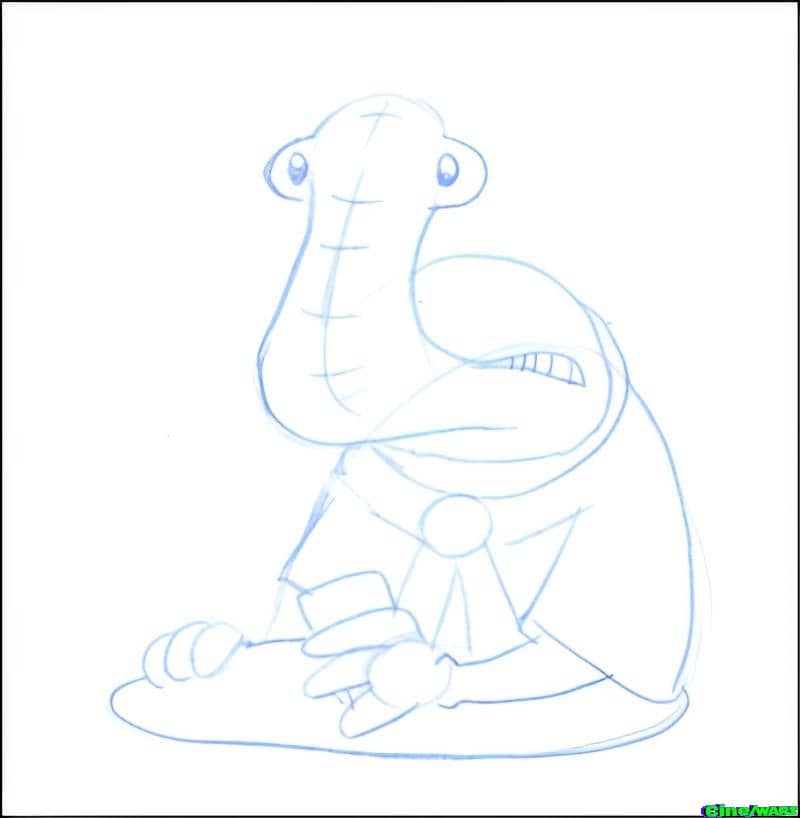
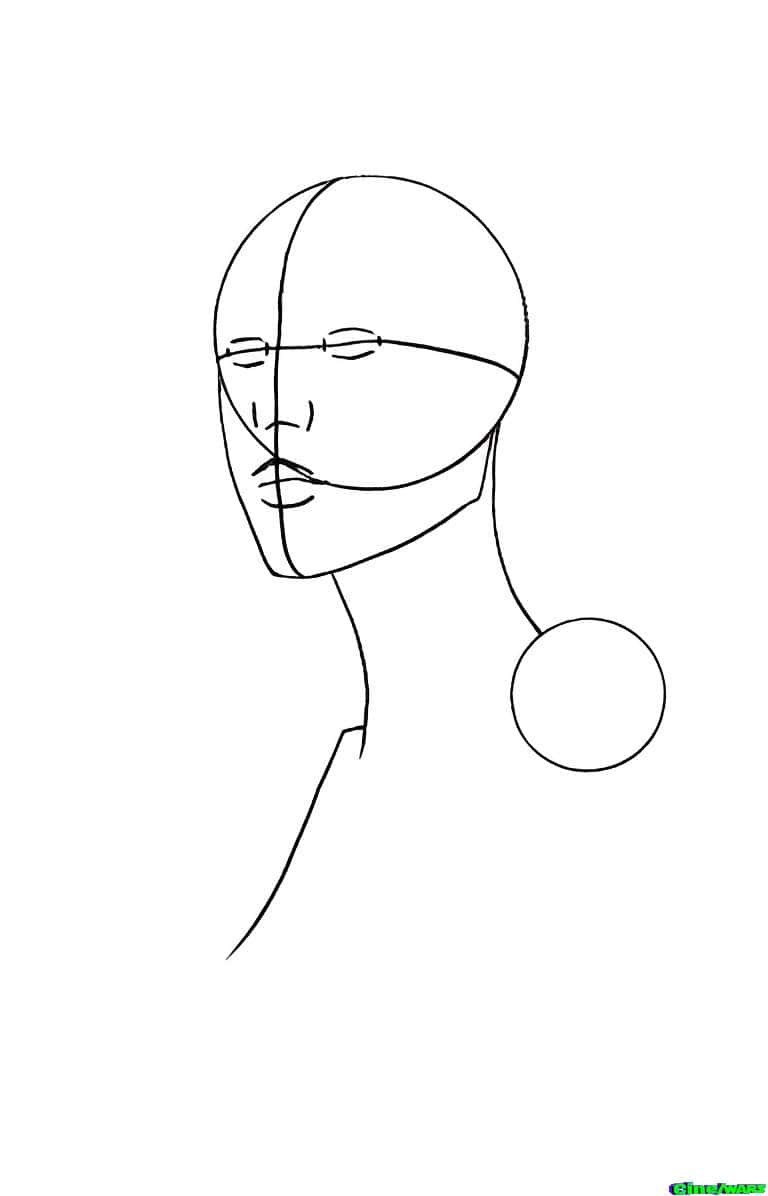
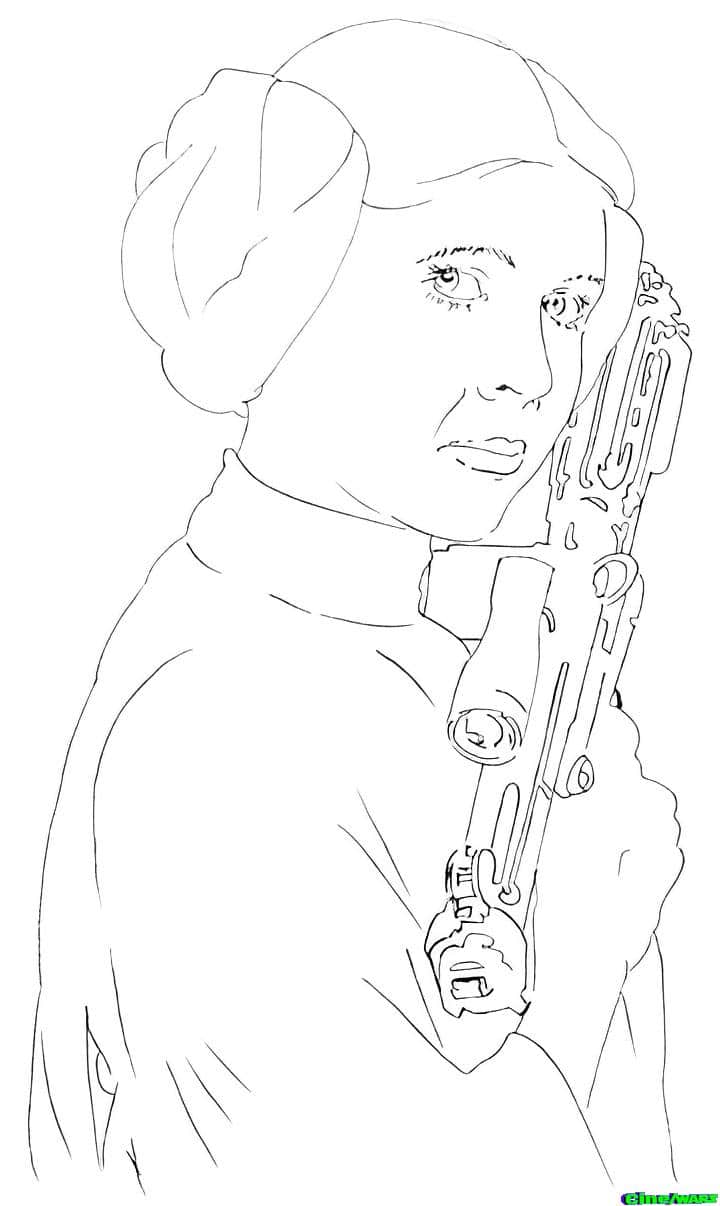
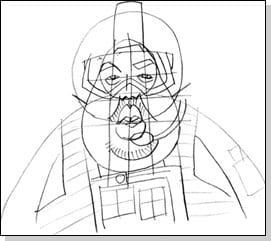
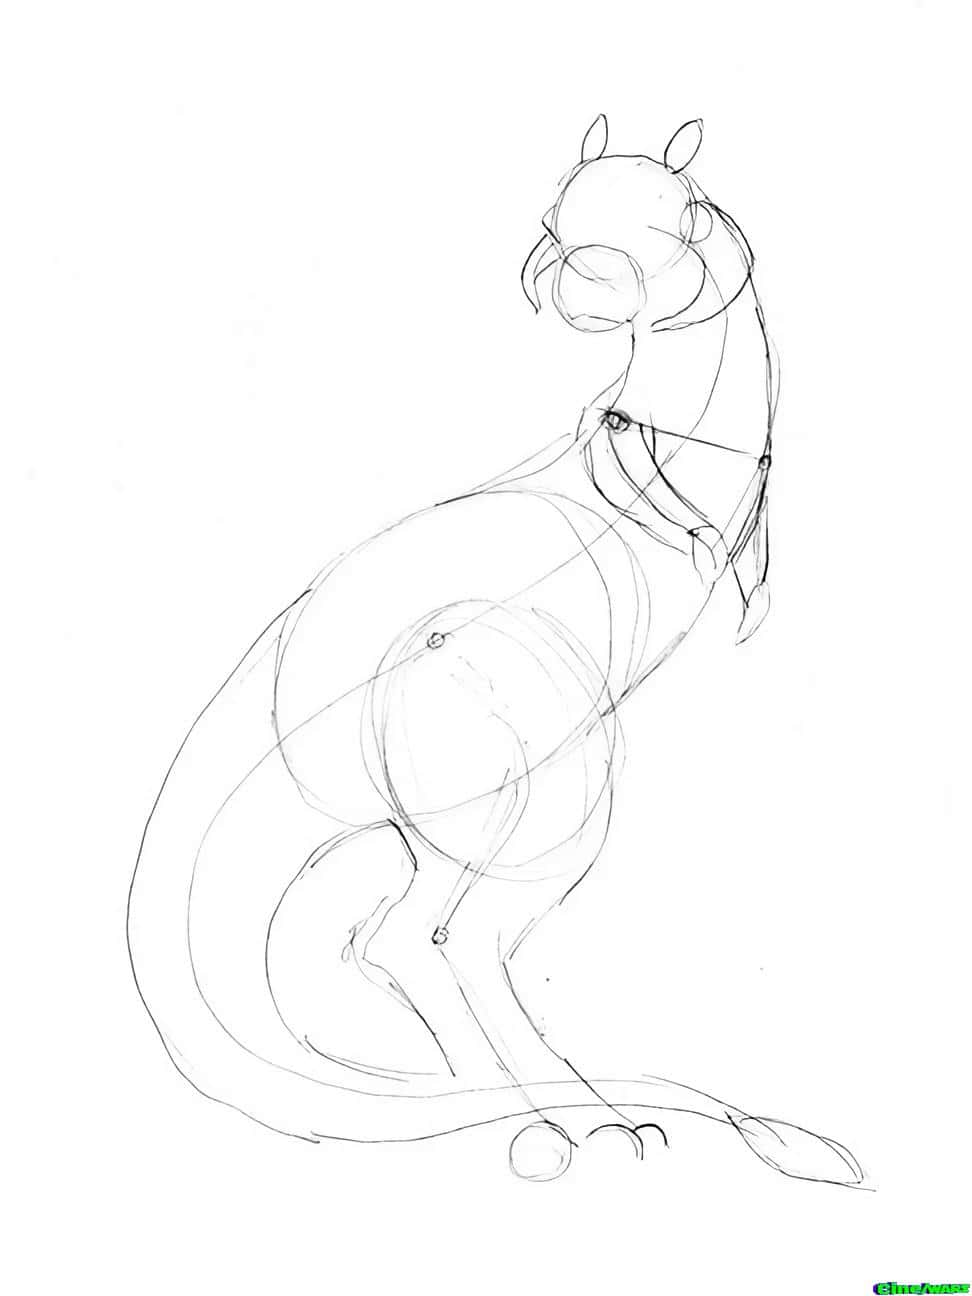
Step Seven:
Using circle shapes, make guides for where the nostrils will go (tauntauns have two pair) and where the brow ridges are. There are a lot of steps here about placing where things go. If you jumped right in to drawing features, you might find that one eye is higher than the other is or they are spread too far apart. That is why these simple shapes help you see if the placement is right. If you don’t think you have it right, just give a quick rub of the eraser and try again!

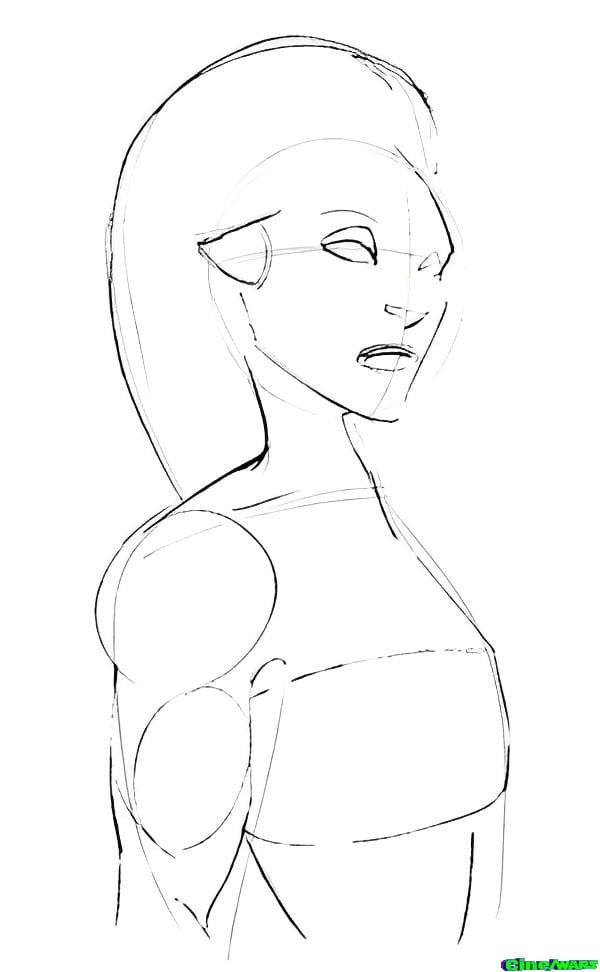
Step Eight:
Add the first set of nostrils and make two almond-shaped circles where the eyes will go. Tauntauns have some little horn bumps that protrude from their skin. I added little nubby shapes where I want mine to go on the forehead and cheek.

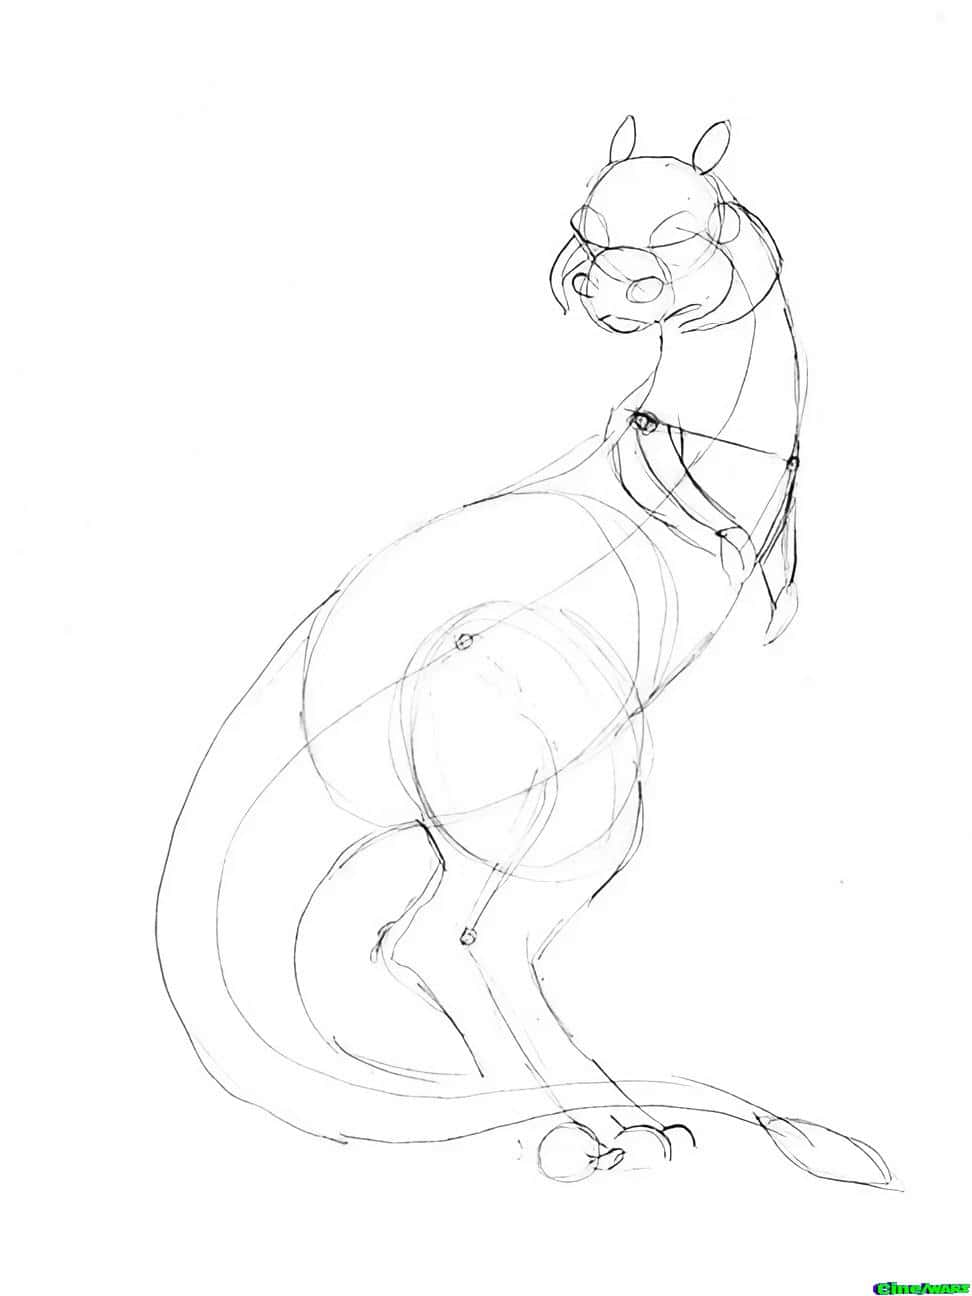
Step Nine:
The second set of nostrils gets added under the first set. Start working on details like the ridges on the horns, the fold around the nose and cheeks and the mouth. Add furry lines on the body (something that I’ll do a lot more of when it’s time to ink the drawing.)
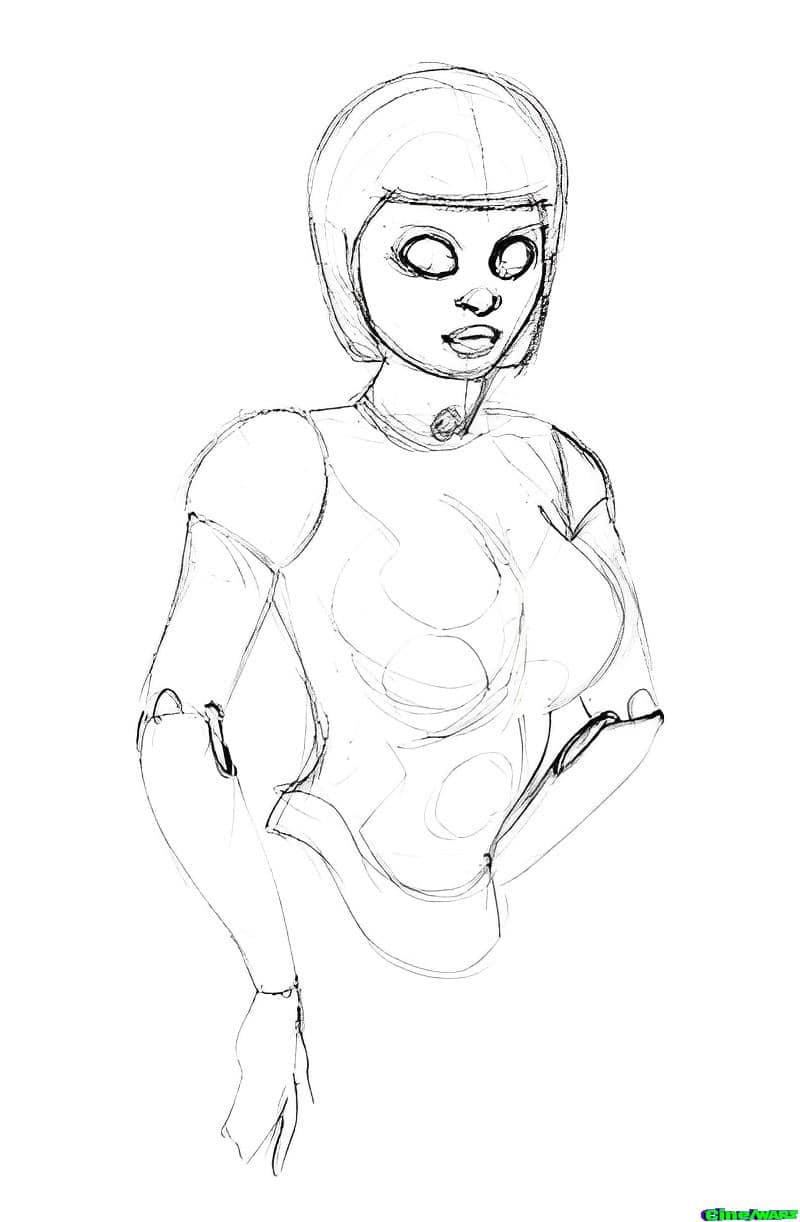
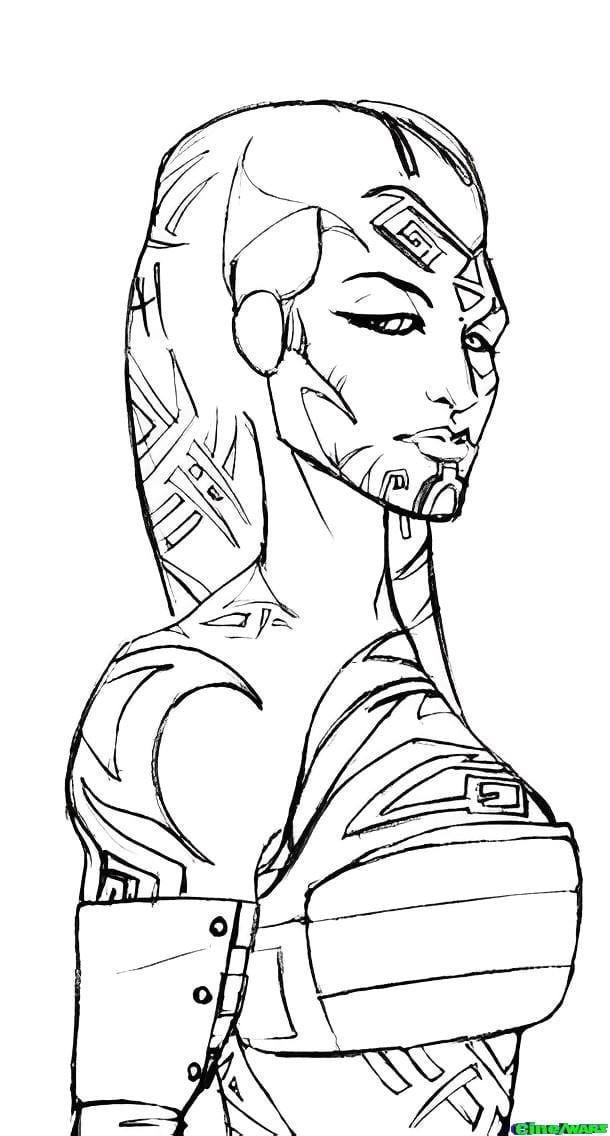
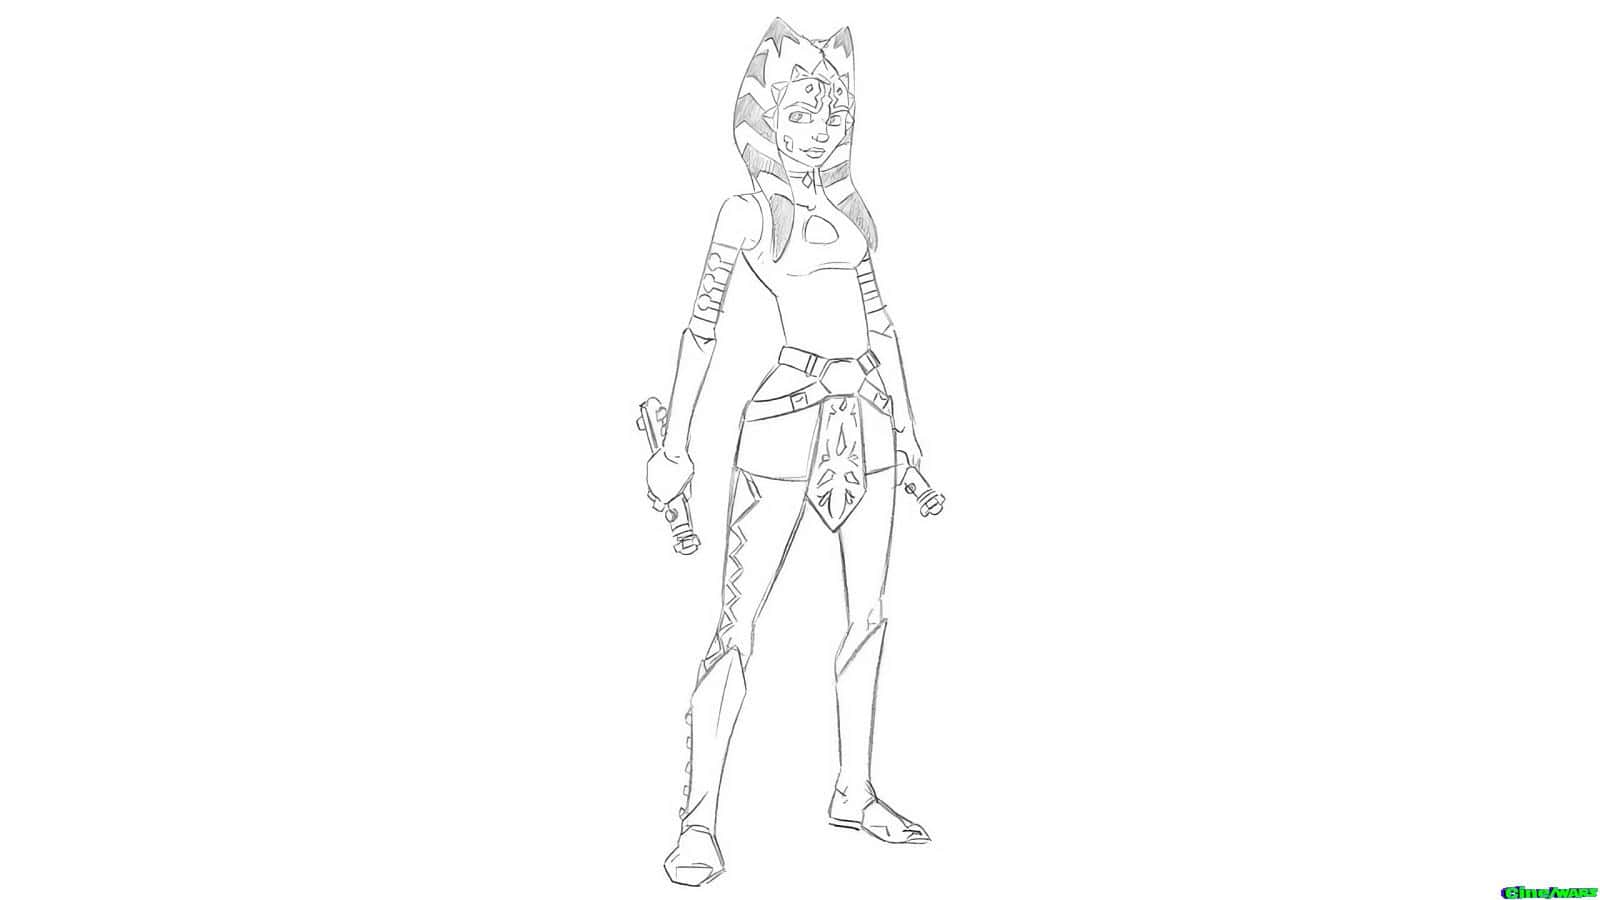
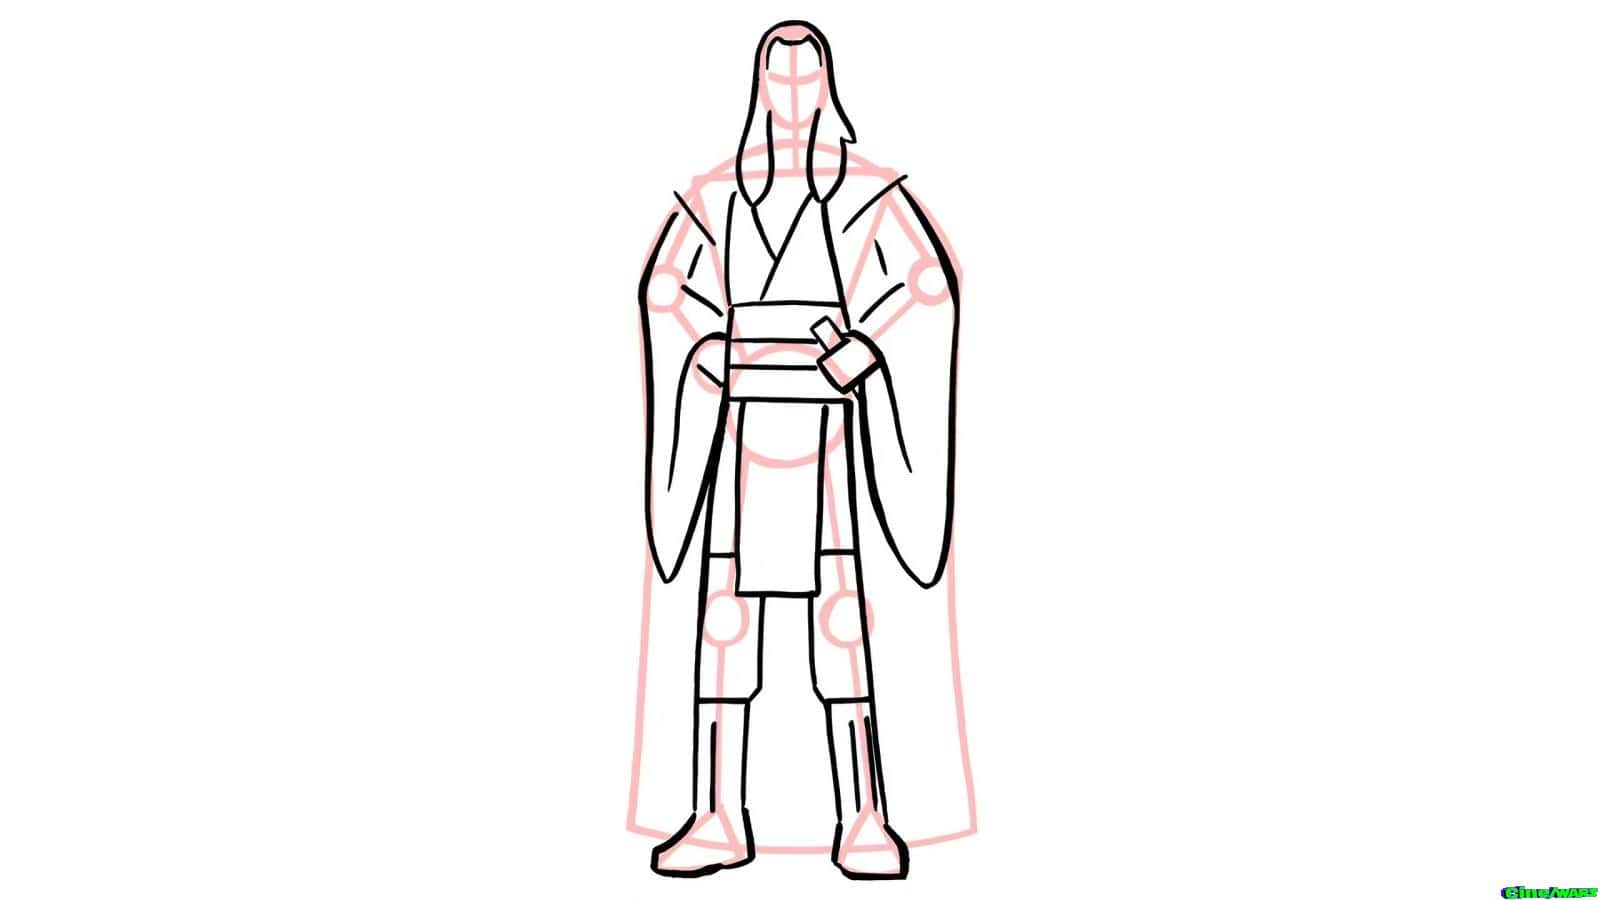
Step Ten:
This step is just more of going over the lines you like to bring out the forms of the nose, eyes, hands (three fingers each) and add fur.
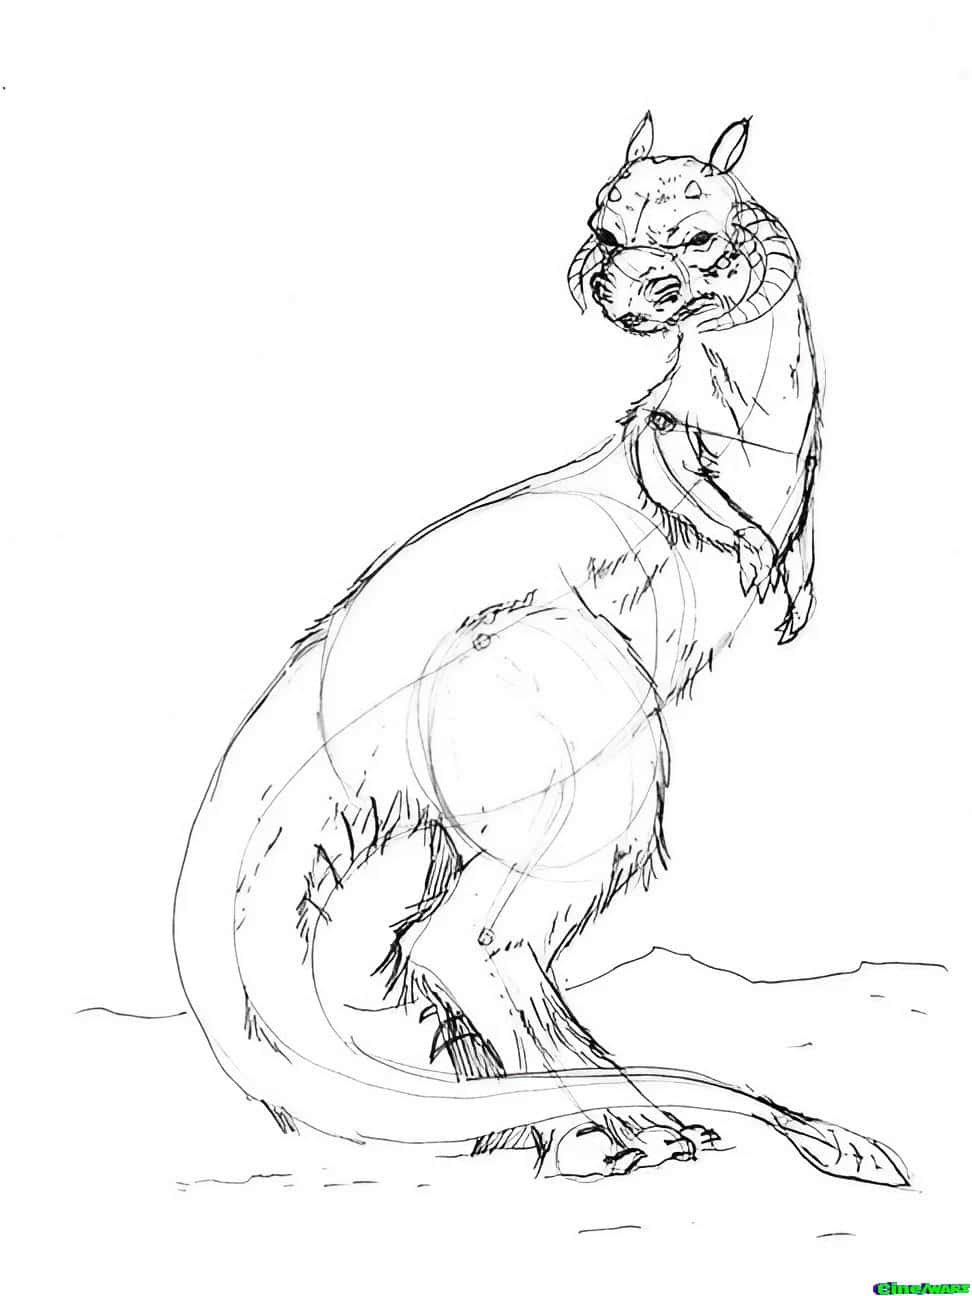
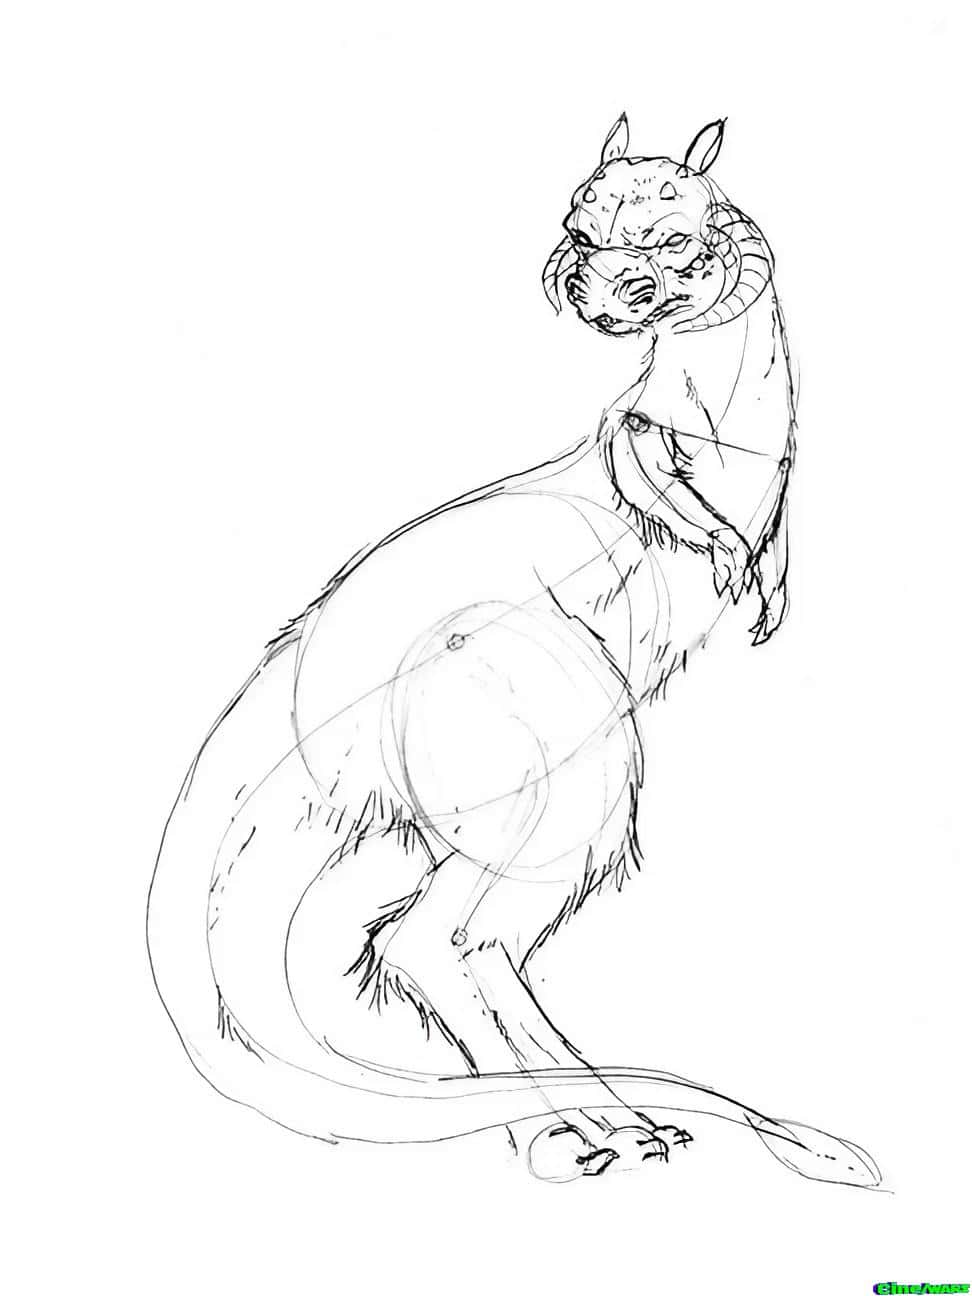
Step Eleven:
This is the last pencil step. We finally get that back leg! Because we wouldn’t see much of it, I waited until I had the shape of the front leg all drawn. Work on the eyes by adding lids and pupils. The bottom of a tauntaun’s take is kind of scaly, like the belly of a dragon, and the spade shape at the end of the tail had some similar ridges on it.

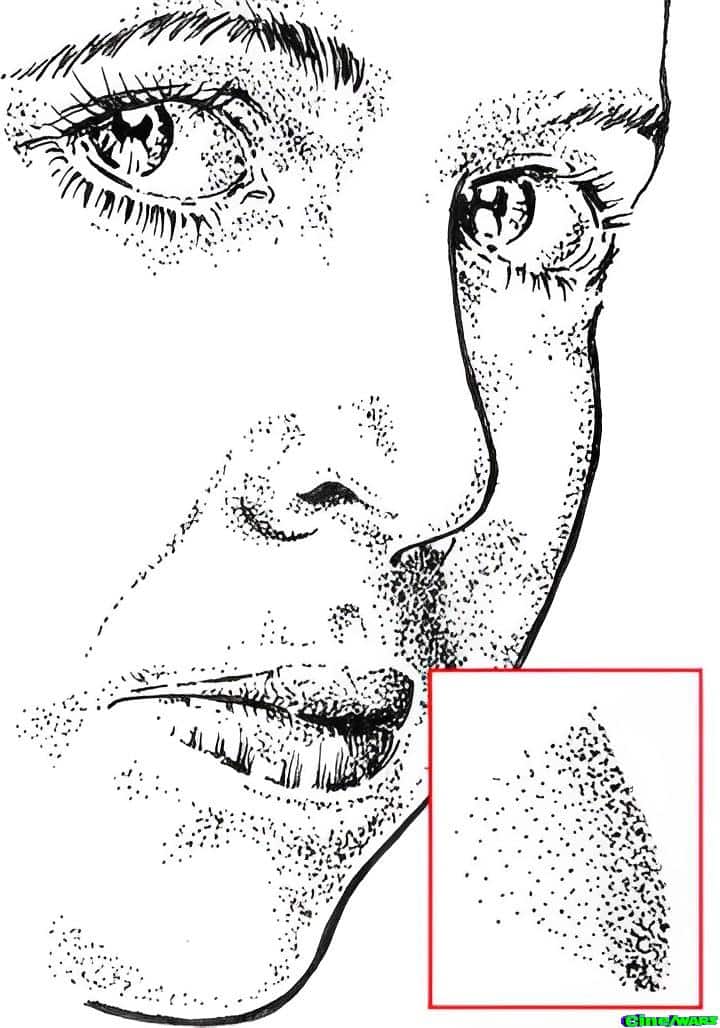
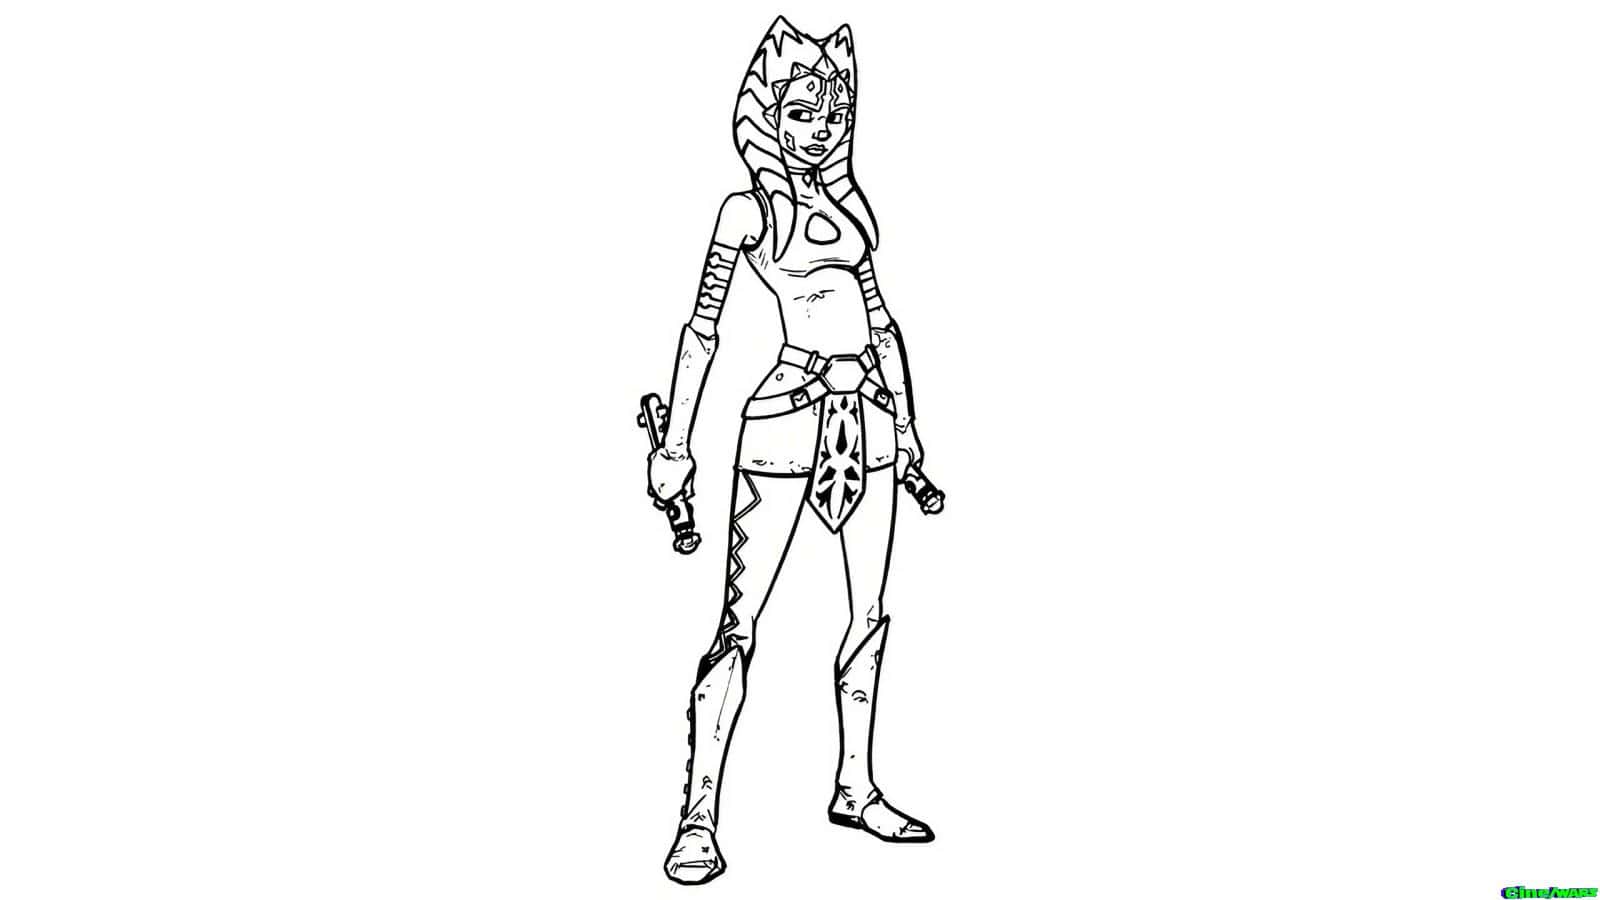
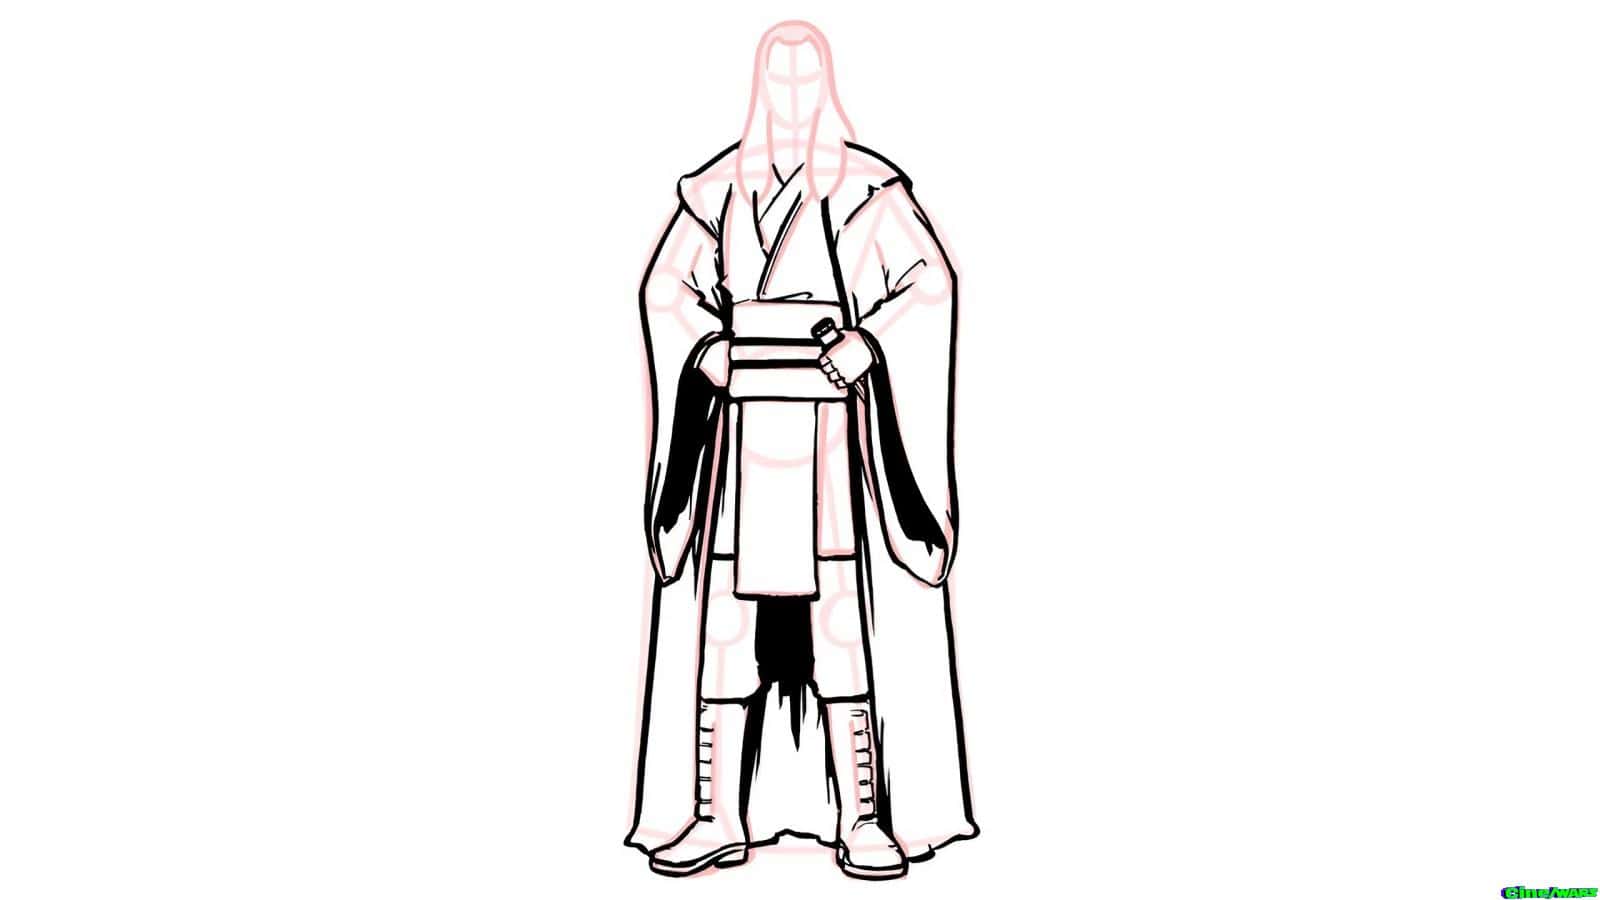
Step Twelve:
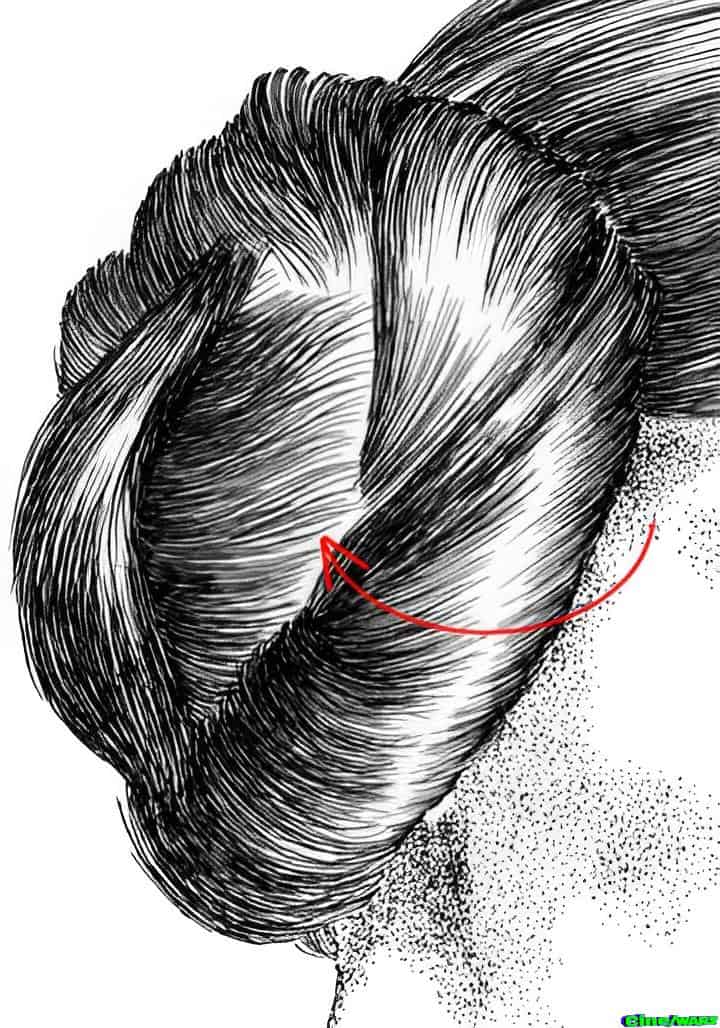
Using my ink pen, I go over the lines I like to finish the drawing. A lot of the details of my finished artwork is all done in the inking step. I focus on textures: lines that taper together or are all in the same direction for fur. Tauntauns are rather furry, they have to have it to live on ice cold Hoth!
Dots can be added to make snow textures on the ground. Smooth circles can look like falling snow. I find that when I ink it’s fun to make noises like the thing you are drawing. It helps get you to think more about what that think is like, how it moves or would feel like to touch, perhaps even how it would smell — bad on the outside, worse on the inside!

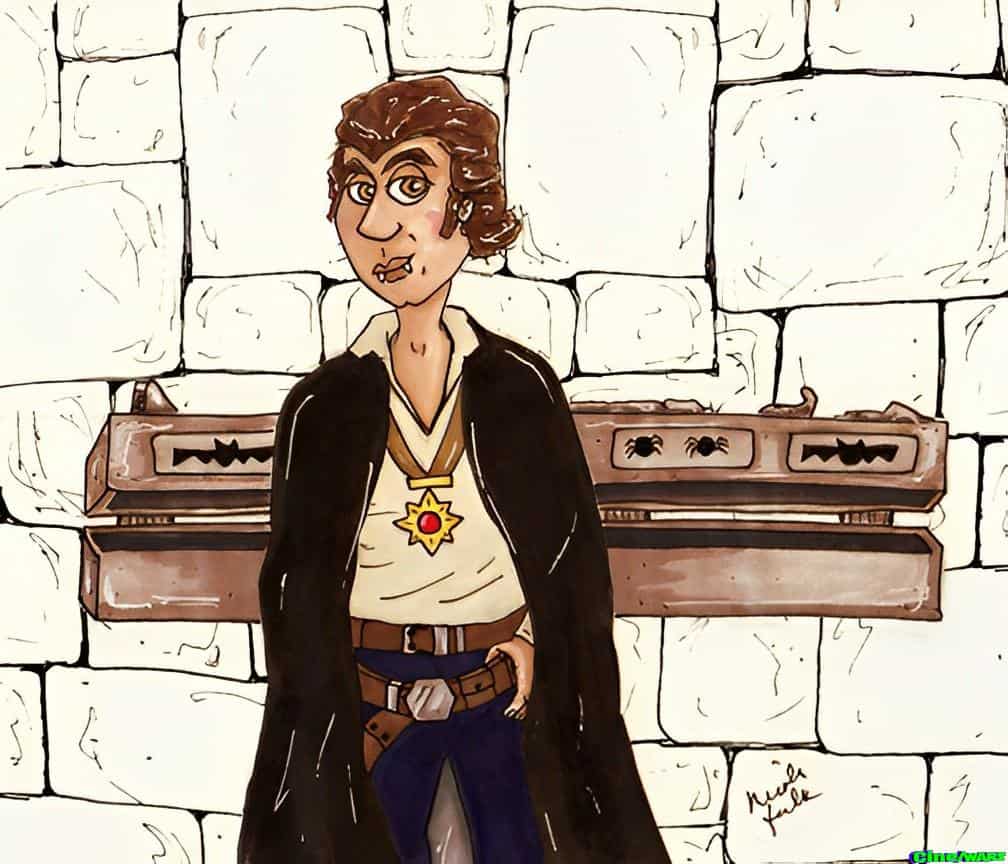
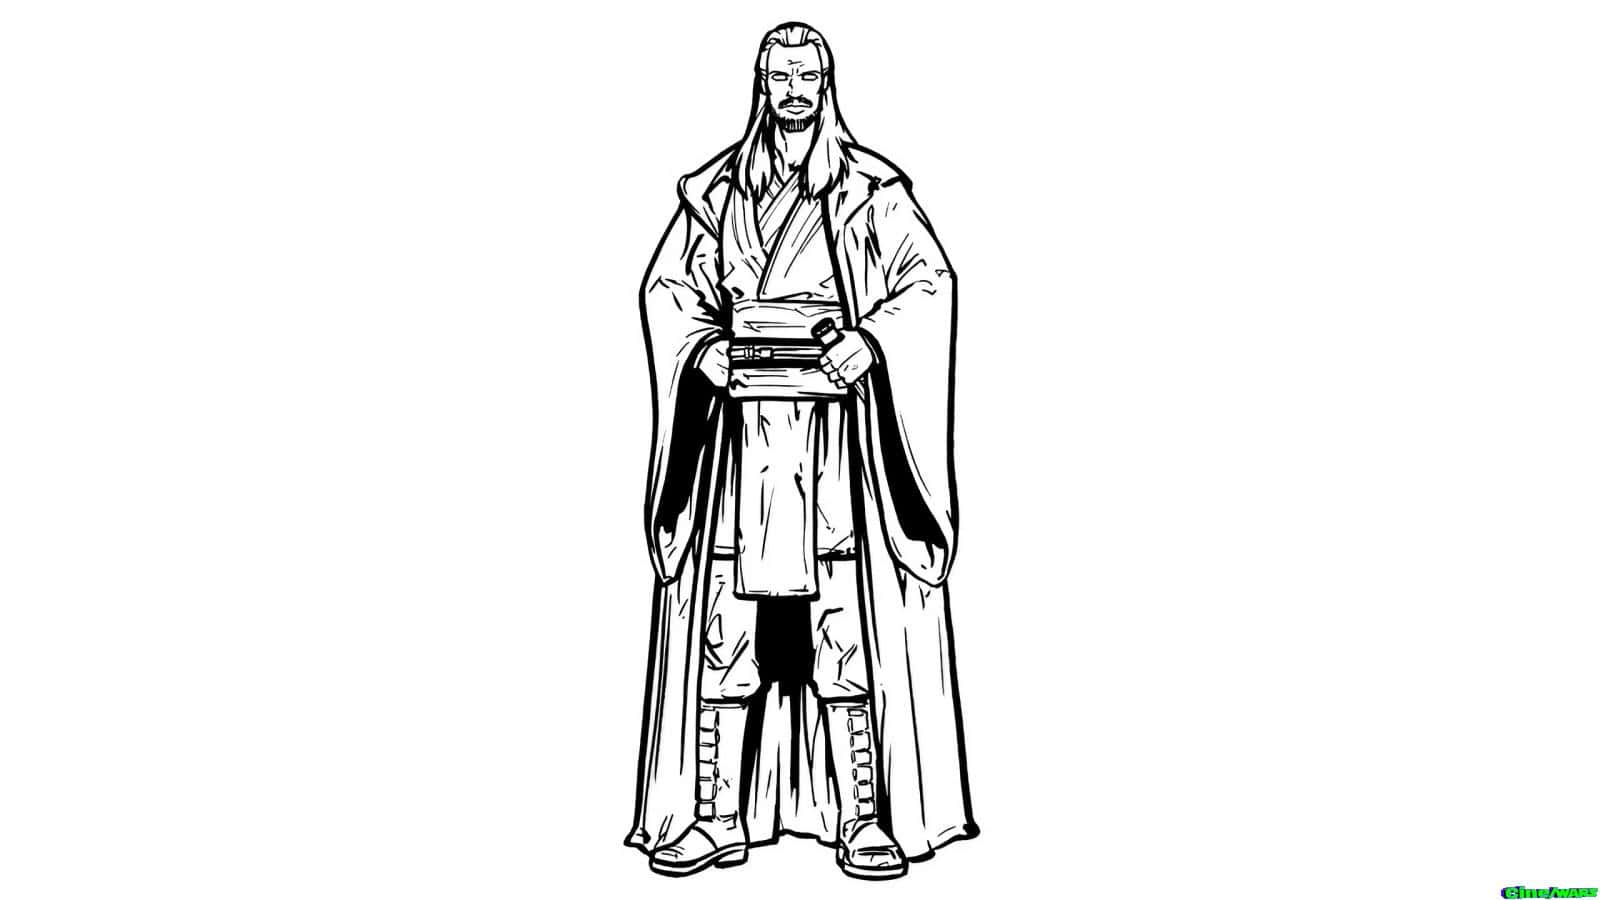
Step Thirteen:
Here is the final inked piece. Normally, I would erase the pencil lines using my softer kneaded eraser, but I left them in to show you that all those silly lines and shapes really went into making this final tauntaun drawing.
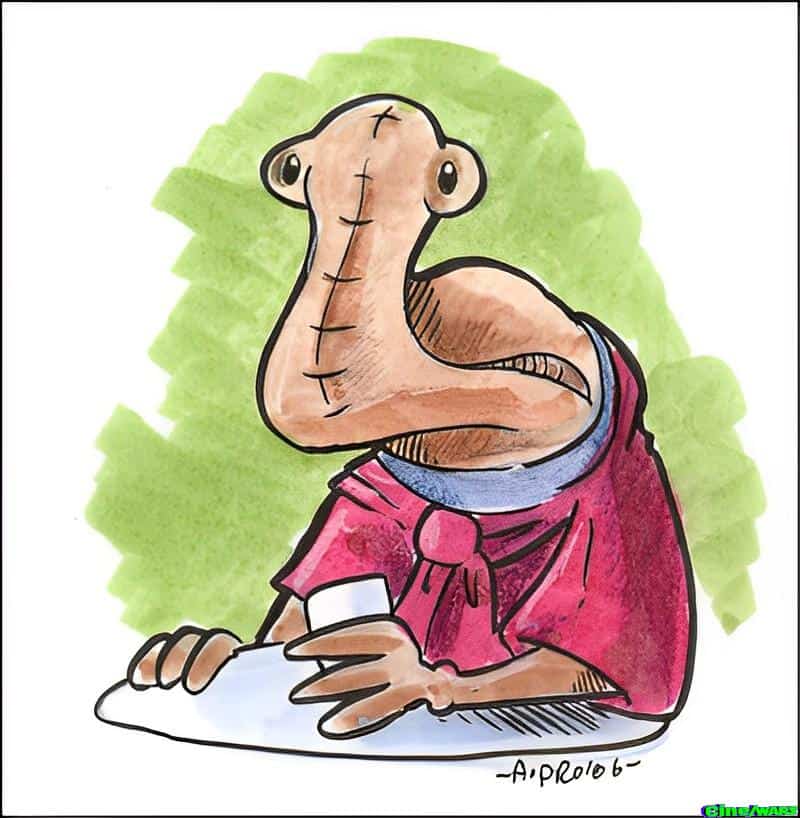
Step Fourteen:
You can take this farther and color the drawing with color pencils or markers or watercolors. If you are worried about messing up and ruining your drawing, it’s possible to photocopy the drawing and work on the copy.
Hope you enjoyed our trip to the Hoth zoo. Keep practicing drawing!


Just as a FYI, to avoid old posts becoming one with the Force, this post has been republished so it can be a blue glowy thing, it was Originally posted 2023-12-08 15:30:42.